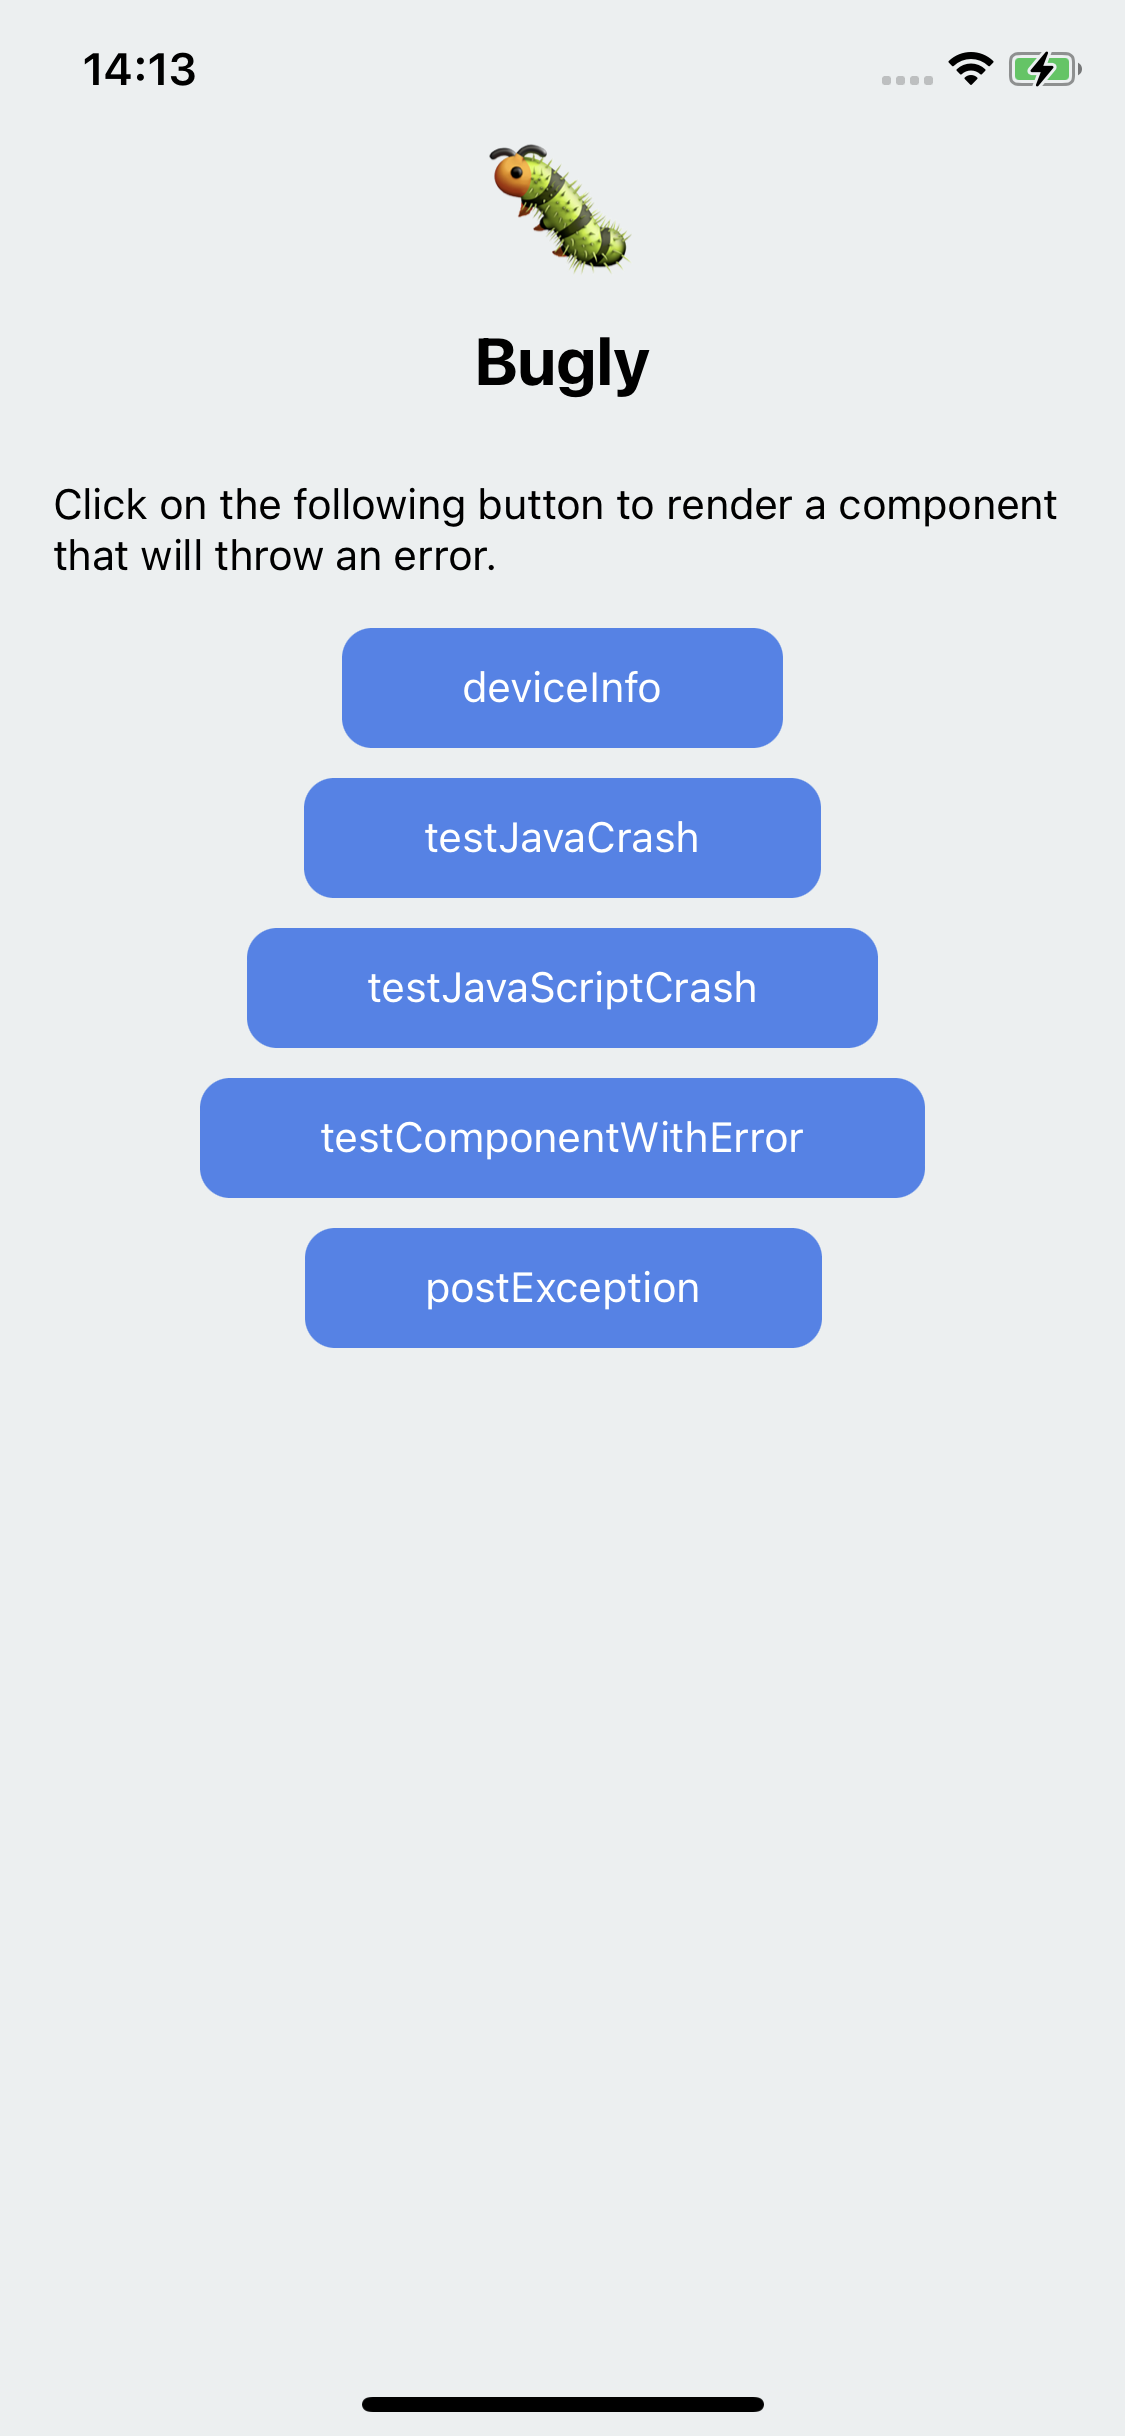
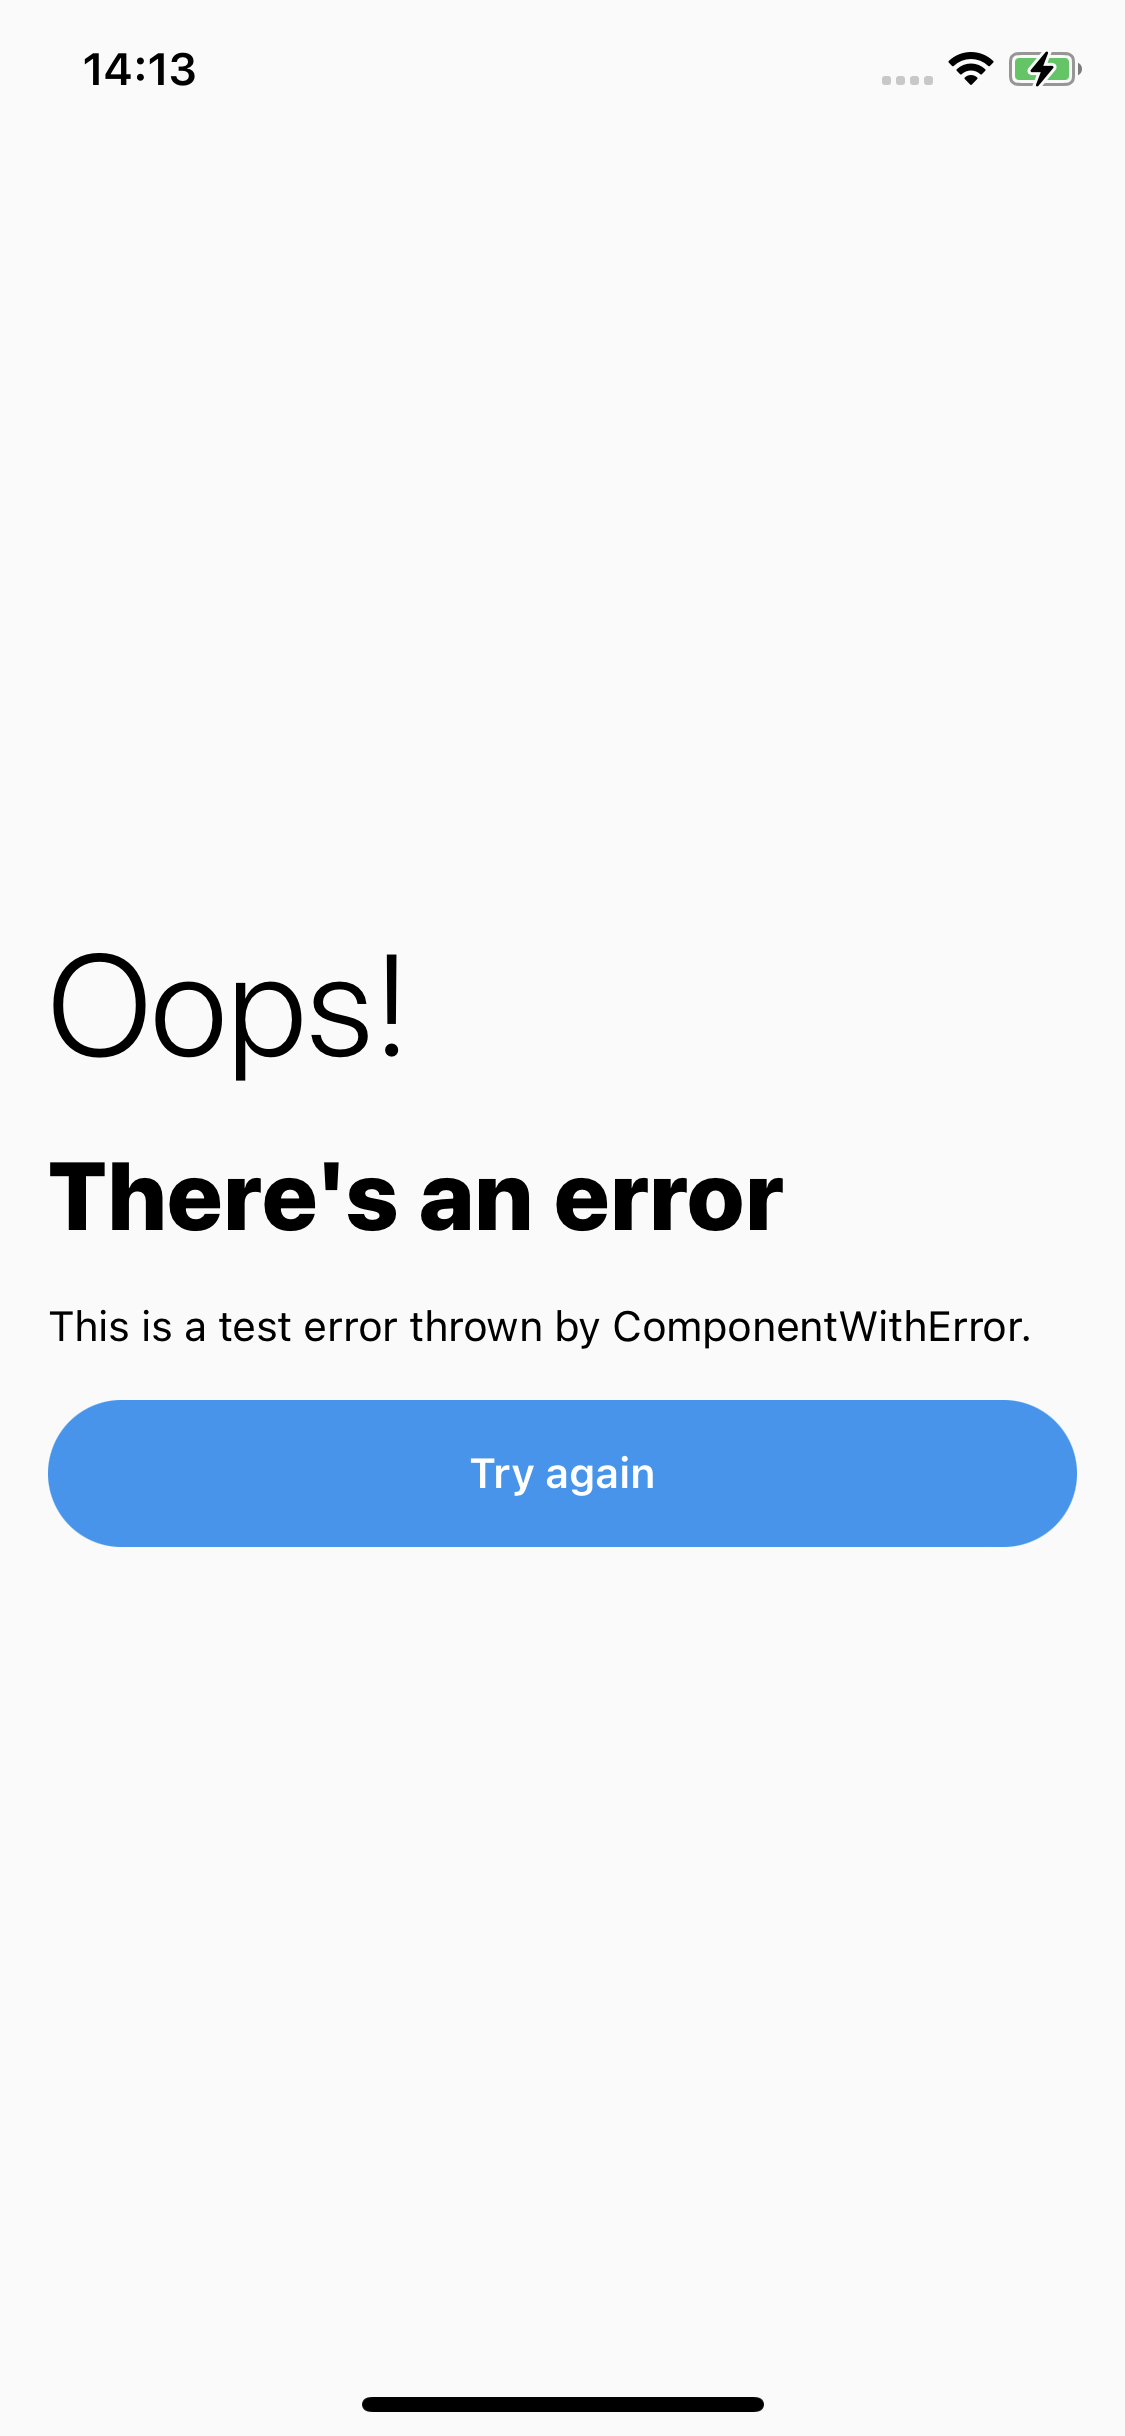
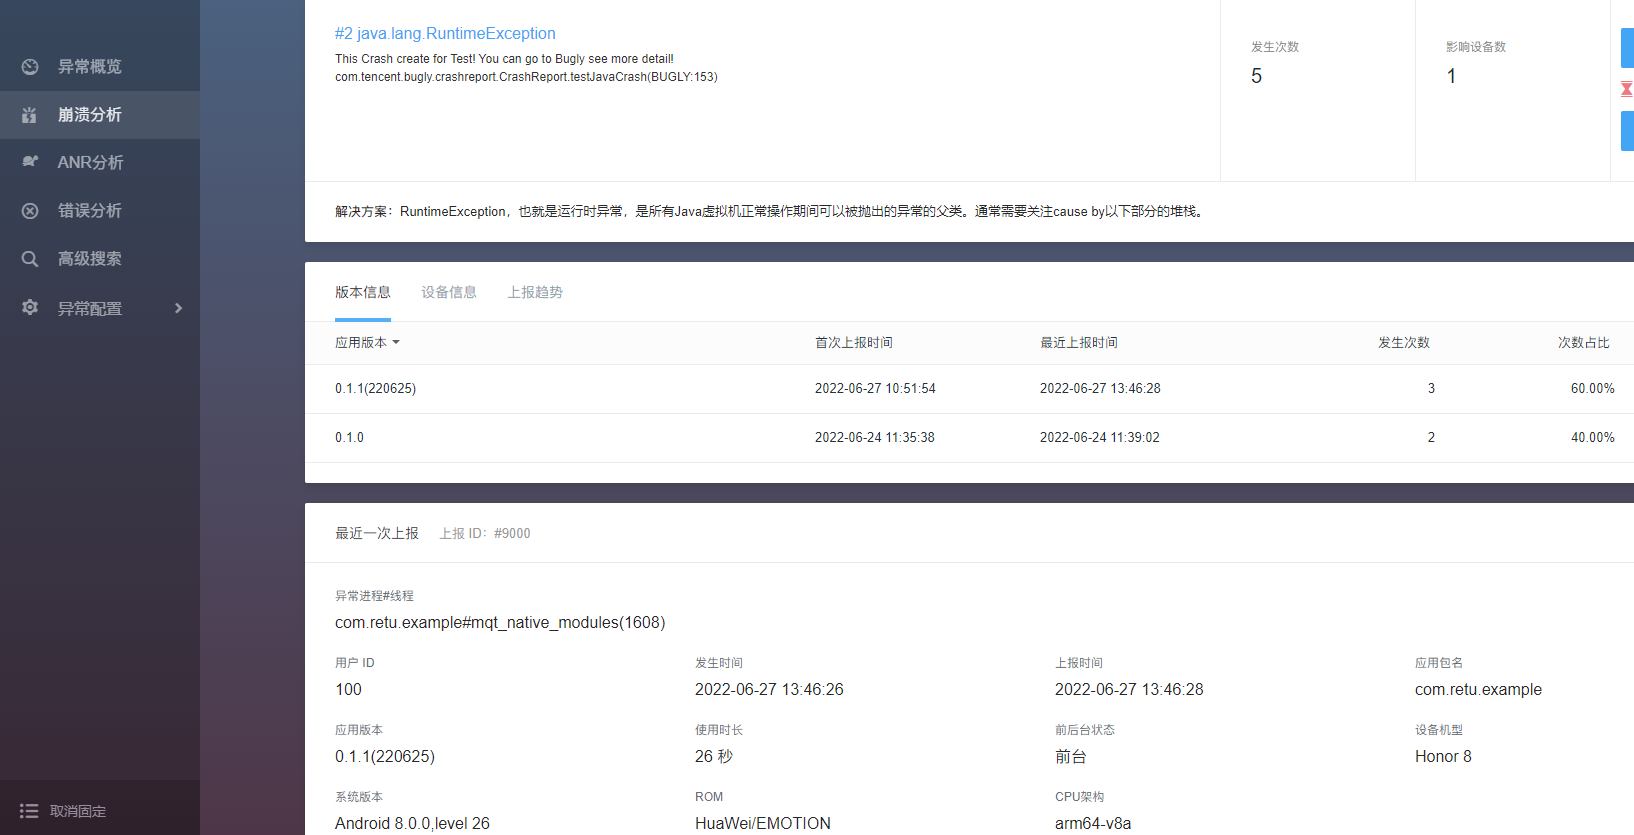
@react-native-retu/bugly
基于腾讯bugly SDK v4.0.4 实现,应用崩溃日志收集,让BUG
🐛 有迹可循。
Installation
Using npm:
npm install --save @react-native-retu/buglyor using yarn:
yarn add @react-native-retu/bugly参数配置
Android
- 在AndroidManifest.xml中添加权限:
<uses-permission android:name="android.permission.INTERNET" />
<uses-permission android:name="android.permission.ACCESS_NETWORK_STATE" />
<uses-permission android:name="android.permission.ACCESS_WIFI_STATE" />- 请避免混淆Bugly,在Proguard混淆文件中增加以下配置:
-dontwarn com.tencent.bugly.**
-keep public class com.tencent.bugly.**{*;}
iOS
--
Usage
import Bugly from "@react-native-retu/bugly";

componentDidMount() {
    // 征得用户同意上传崩溃日志
    ......
    // 初始化Bugly
    const strategy: BuglyStrategyConfig = {
        appChannel: "Google Play",
        appVersion: "1.0.0",
        appPackageName: "com.retu.example",
        deviceId: "983DFBBD-D047-4C53-908F",
        deviceModel: "XiaoMi 12",
    };
    Bugly.init("you appId", strategy);
}

// test crash
Bugly.testCrash();
Example
git clone https://github.com/DengXiangHong/react-native-retu-bugly.git
cd example && yarn install
android
yarn androidios
pod install
yarn ios
API
| Method | Return Type | iOS | Android |
|---|---|---|---|
| testCrash() | void |
||
| init(appId: string, strategy: BuglyStrategyConfig) | Promise<boolean> |
||
| setUserId(userId: string) | void |
||
| setDeviceId(deviceId: string) | void |
||
| setDeviceModel(deviceModel: string) | void |
||
| setAppChannel(appChannel: string) | void |
||
| setAppVersion(appVersion: string) | void |
||
| setAppPackage(appPackage: string) | void |
||
| setAllThreadStackEnable(crashEnable: boolean, anrEnable: boolean) | void |
||
| setUserSceneTag(id: number) | void |
||
| putUserData(key: string, value: string) | void |
||
| log(tag: string, log: string, level: LOG_LEVEL) | void |
||
| postException(params: ExceptionParams) | Promise<boolean> |
testCrash()
// 崩溃测试
Bugly.testCrash();
init()
// 初始化Bugly
const strategy: BuglyStrategyConfig = {
    appChannel: "Google Play",
    appVersion: "1.0.0",
    appPackageName: "com.retu.example",
    deviceId: "983DFBBD-D047-4C53-908F",
    deviceModel: "XiaoMi 12",
};
Bugly.init("you appId", strategy).then((isInit) => {
    console.log("Bugly init "+ isInit);
}).cache(error => console.error(error));
setUserId()
Bugly.setUserId("100");setDeviceId()
// 重置设备型号,将覆盖BuglyStrategy中的值
Bugly.setDeviceId("983DFBBD-D047-4C53-908F");
setDeviceModel()
// 重置app渠道,将覆盖BuglyStrategy中的值
Bugly.setAppChannel("Google Play");
setAppVersion()
// 重置app版本,将覆盖BuglyStrategy中的值
Bugly.setAppVersion("1.0.1");
setAppPackage()
// 重置app包名,将覆盖BuglyStrategy中的值
Bugly.setAppPackage("com.retu.test");
setAllThreadStackEnable()
// 设置crash和anr时是否获取全部堆栈
Bugly.setAllThreadStackEnable(true, false);
setUserSceneTag()
// 设置标签
Bugly.setUserSceneTag(145);
putUserData()
// 自定义Map参数可以保存发生Crash时的一些自定义的环境信息。
Bugly.putUserData("userId", "120");
log()
// 该日志将在Logcat输出,并在发生异常时上报
Bugly.log("[Test]", "log test !", LOG_LEVEL.D);
postException()
// 上报自定义异常
const exception: ExceptionParams = {
    category: Platform.select({ ios: CATEGORY.IOS_JS, default: CATEGORY.ANDROID_JS }),
    errorType: 'React Native Exception Test',
    errorMsg: 'This React Native Exception Test',
    stack: 'This Test,This Test,This Test!!!',
};
Bugly.log('崩溃警告', '这是主动上报自定义崩溃', LOG_LEVEL.W);
Bugly.postException(exception).then(() => Alert.alert("上报成功", JSON.stringify(exception))).catch();
Contributing
See the contributing guide to learn how to contribute to the repository and the development workflow.
License
MIT
Made with create-react-native-library


