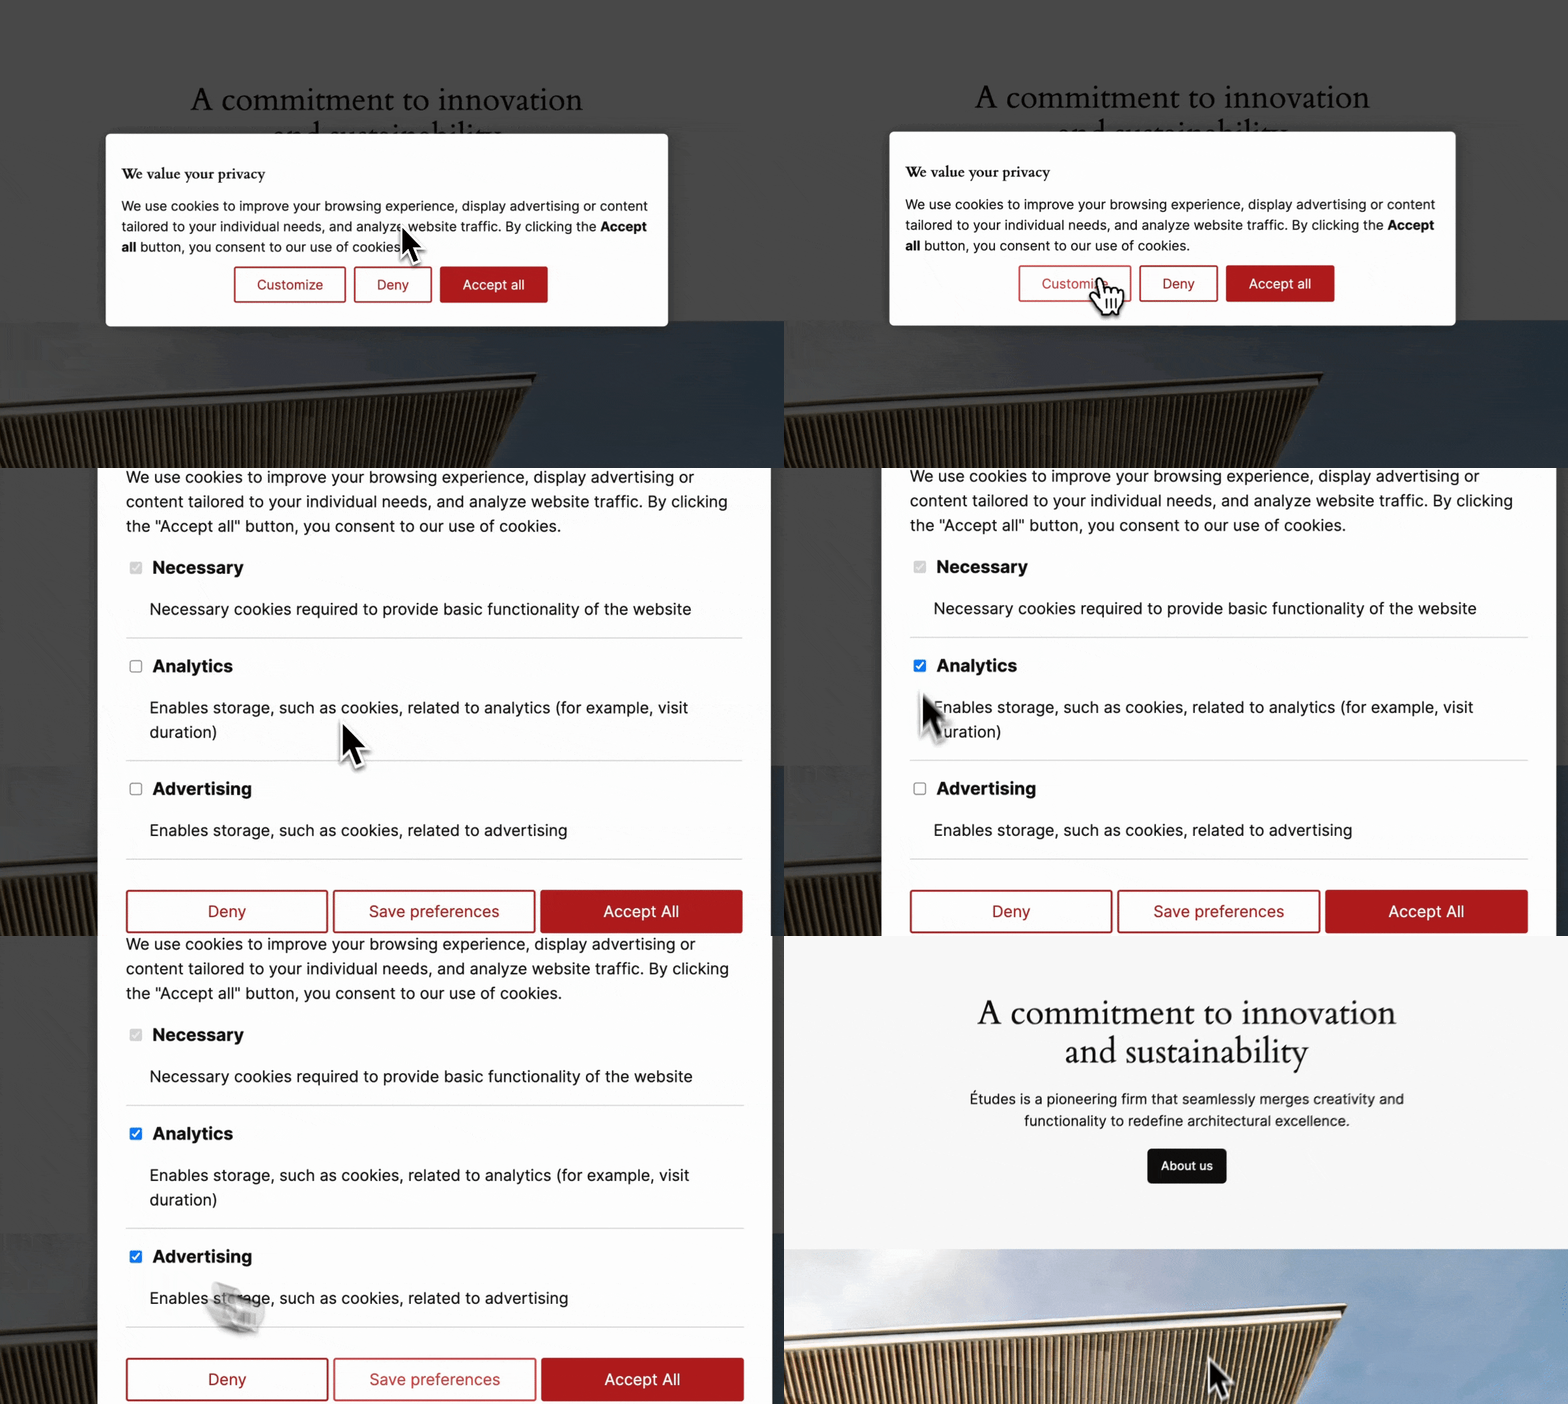
A zero-dependency, lightweight (~3kB), consent platform agnostic, cookie banner for any website.
- It takes JSON configuration that controls display of the banner.
- It fires JS callback when user interacts with the banner
- It provides simple JS object with consent state
First, include simple CSS for the banner in the <head> of the page:
<link rel="stylesheet" href="https://public-assets.tagconcierge.com/consent-banner/1.1.0/styles/light.css" />Then in the footer you can include the actual JS:
<script src="https://public-assets.tagconcierge.com/consent-banner/1.1.0/cb.min.js"></script>
<script>
    cookiesBannerJs(
        loadConsentState,
        saveConsentState
        config
    );
</script>
INFO: You can call the cookiesBannerJs function whenever, wherever you want, inside it is wrapped with DOM Ready thingy.
To make that work you need to prepare three things:
- A function to load the consent state from somewhere, for instance
localStorage(see examples) - A function to do something when the user provides their consent, for instance save it in
localStorage(see examples) - A config object that contains complete configuration for the banner content (see examples)
{
    display: {
        mode: 'modal', // you can use 'modal' or 'bar'
        wall: true // covers the page with opaque layer to prevent user interactions
    },
    consent_types: [{
        name: 'ad_storage', // internal name of consent type, used for final JS object
        title: 'Ad Storage', // user facing title for consent type
        description: 'Cookies used for advertising purposes', // description visible in the settings view
        default: 'denied', // what should be the default state when user decides to customize the settings
        require: false // if set to true it won't be possible to save consent without this granted
    }],
    modal: {
        title: 'Learn how we protect your privacy', // title of the first view
        description: 'Longer description with *simple markdown support*.',
        buttons: {
            settings: 'Settings',
            close: 'Close',
            reject: 'Reject',
            accept: 'Accept all'
        }
    }
    settings: {
        title: 'Customise your preferences',
        description: 'Longer description with *simple markdown support*.',
        buttons: {
            reject: 'Reject',
            close: 'Close',
            save: 'Save',
            accept: 'Accept all'
        }
    }
}
Simple Markdown
All description fields in config object support simplified Markdown-like syntax:
- links
- bold or bold
- italic or italic
This banner comes with mininal set of CSS with all elements prefixed with consent-banner-.
Main elements have their IDs:
-
#consent-banner-main- main wrapper element -
#consent-banner-modal- first view, centered modal or bottom bar -
#consent-banner-settings- shown when user clicks "settings" button
Buttons can be styles using following CSS selectors:
-
.consent-banner-button- for all buttons -
.consent-banner-button[href="#accept"]- for approval buttons
See following examples for complete setups:
Instead of doing direct installation in HTML you can use one of the following integrations:
Google Tag Manager
Use this Google Tag Manager Template to quickly configure and deploy the Consent Banner on any GTM enabled website. It obviously integrates with Google Consent Mode.
WordPress
Simple WordPress plugin that provides UI for configuration, injects required files and integrates with Google Consent Mode.
PrestaShop
Simple PrestaShop plugin that provides UI for configuration, injects required files and integrates with Google Consent Mode.
Cloudflare Worker
Example CF Worker code to inject Consent Banner and the configuration without touching HTML code.
We like docker so that's how get local dev server:
docker-compose up -d dev
But first, we need to install dependencies:
docker-compose run dev npm i
And if we need node cli we get into the a shell like that:
docker-compose run --rm dev bash
Finally, to build minified JS file we run:
docker-compose run dev npm run build
