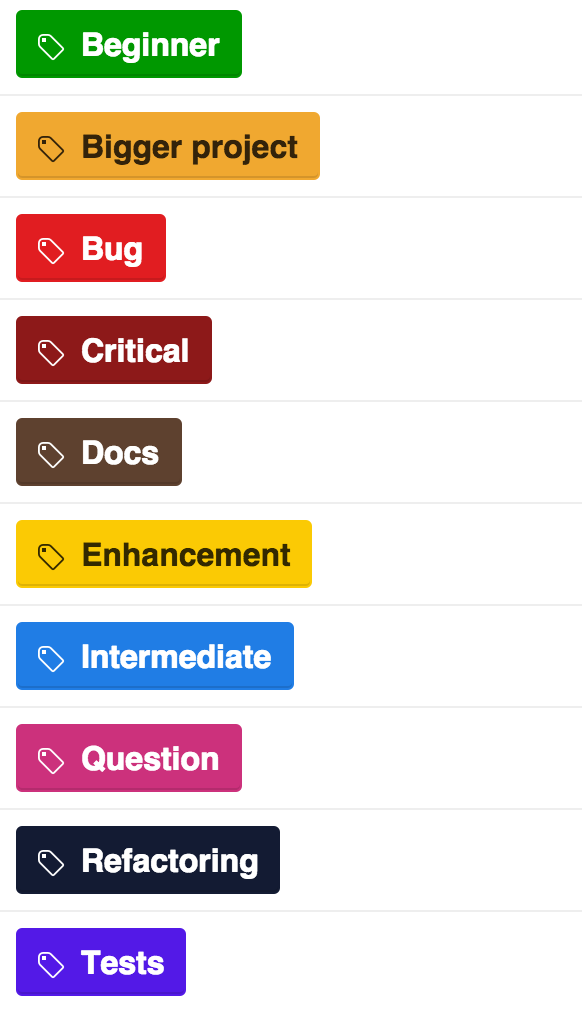
GitHub Labels
Scope
A cli for managing GitHub labels.
Getting Started
- Install the Label Manager
with npm:
npm install @commercetools/github-labels --save-dev
- Define the authentication token
Generate a new GitHub AUTH_TOKEN and write it into your .env file. The token should only need the public_repo scope (for public repositories) or repo (for private repositories).
AUTH_TOKEN="your-token"
- Initialize the labels config
If you don't have a labels config file yet, you can initialize one by running:
github-labels init
Manage your labels
GitHub labels are managed through the labels config file. The config must be in JSON format and can be defined in the following files:
-
package.json, under the namegithub-labels .github-labelsrc.github-labelsrc.json
If you don't have this file yet, follow the given instructions above. In this file, you can see all your current label data. If you want to change something on your labels, just modify the file as you like. After modifying, save your changes and run the command below:
github-labels sync
This will synchronize the config file with your GitHub repository. If you want to see your changes, just go to your label settings on GitHub to see your current labels.
Config structure:
{
  "id": 1336719046,
  "name": "bug",
  "color": "8eedc7",
  "description": "Something isn't working"
}
Required fields:
| Data | Required | Type |
|---|---|---|
| id | no | Id (Created by GitHub) |
| name | yes | String (Native emojis can be added) |
| color | yes | String (hexadecimal color code without the leading #) |
| description | no | String |
Reuse the same config across different repositories
If you have installed github-labels in your repository, yo can simply copy-paste the
.github-labelsrc.json file into your new repository. After that, remove the ids of each
label and synchronize them with GitHub:
github-labels sync
