A Cisco Meraki Wireless plugin for Homebridge.
Purpose
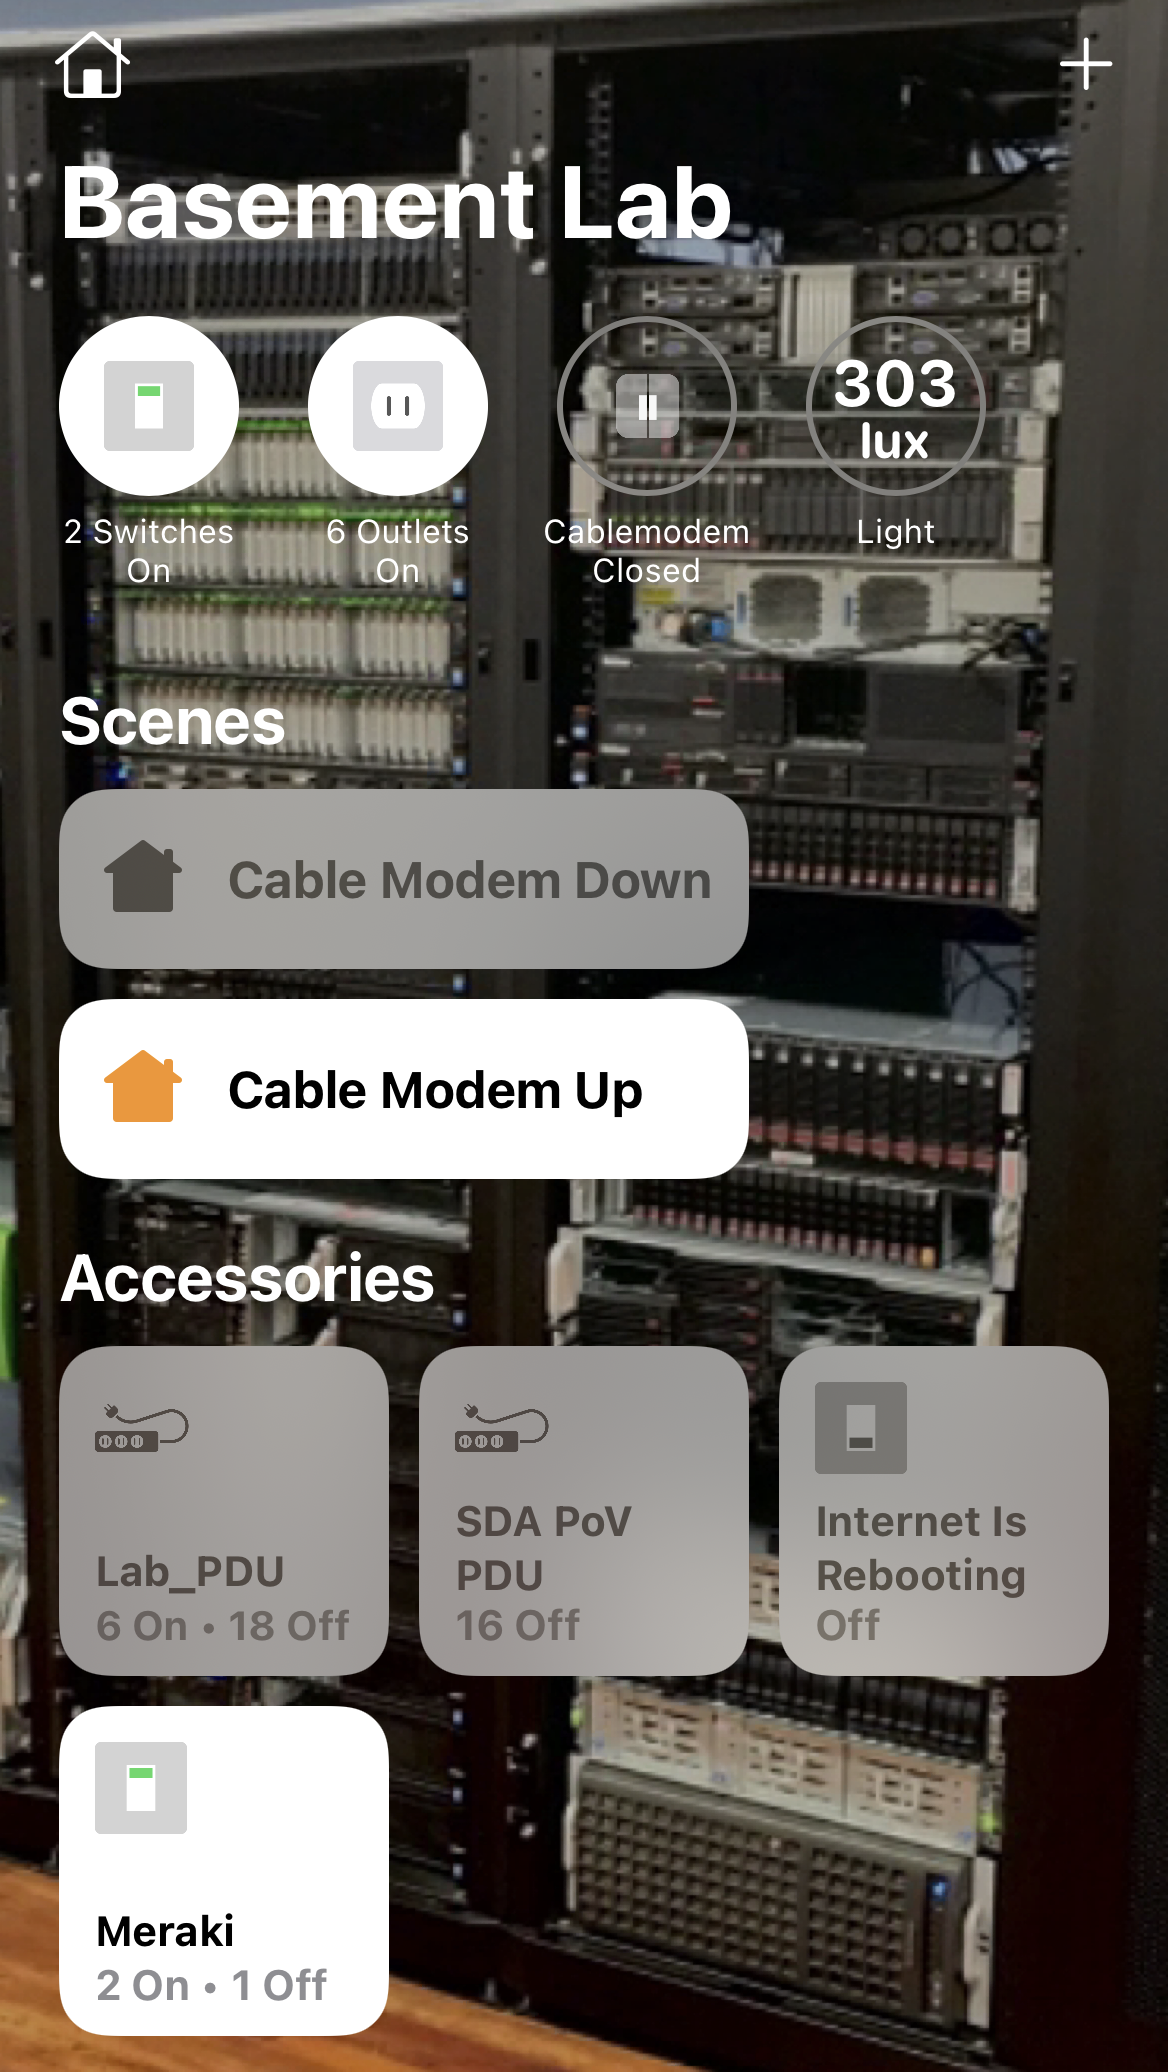
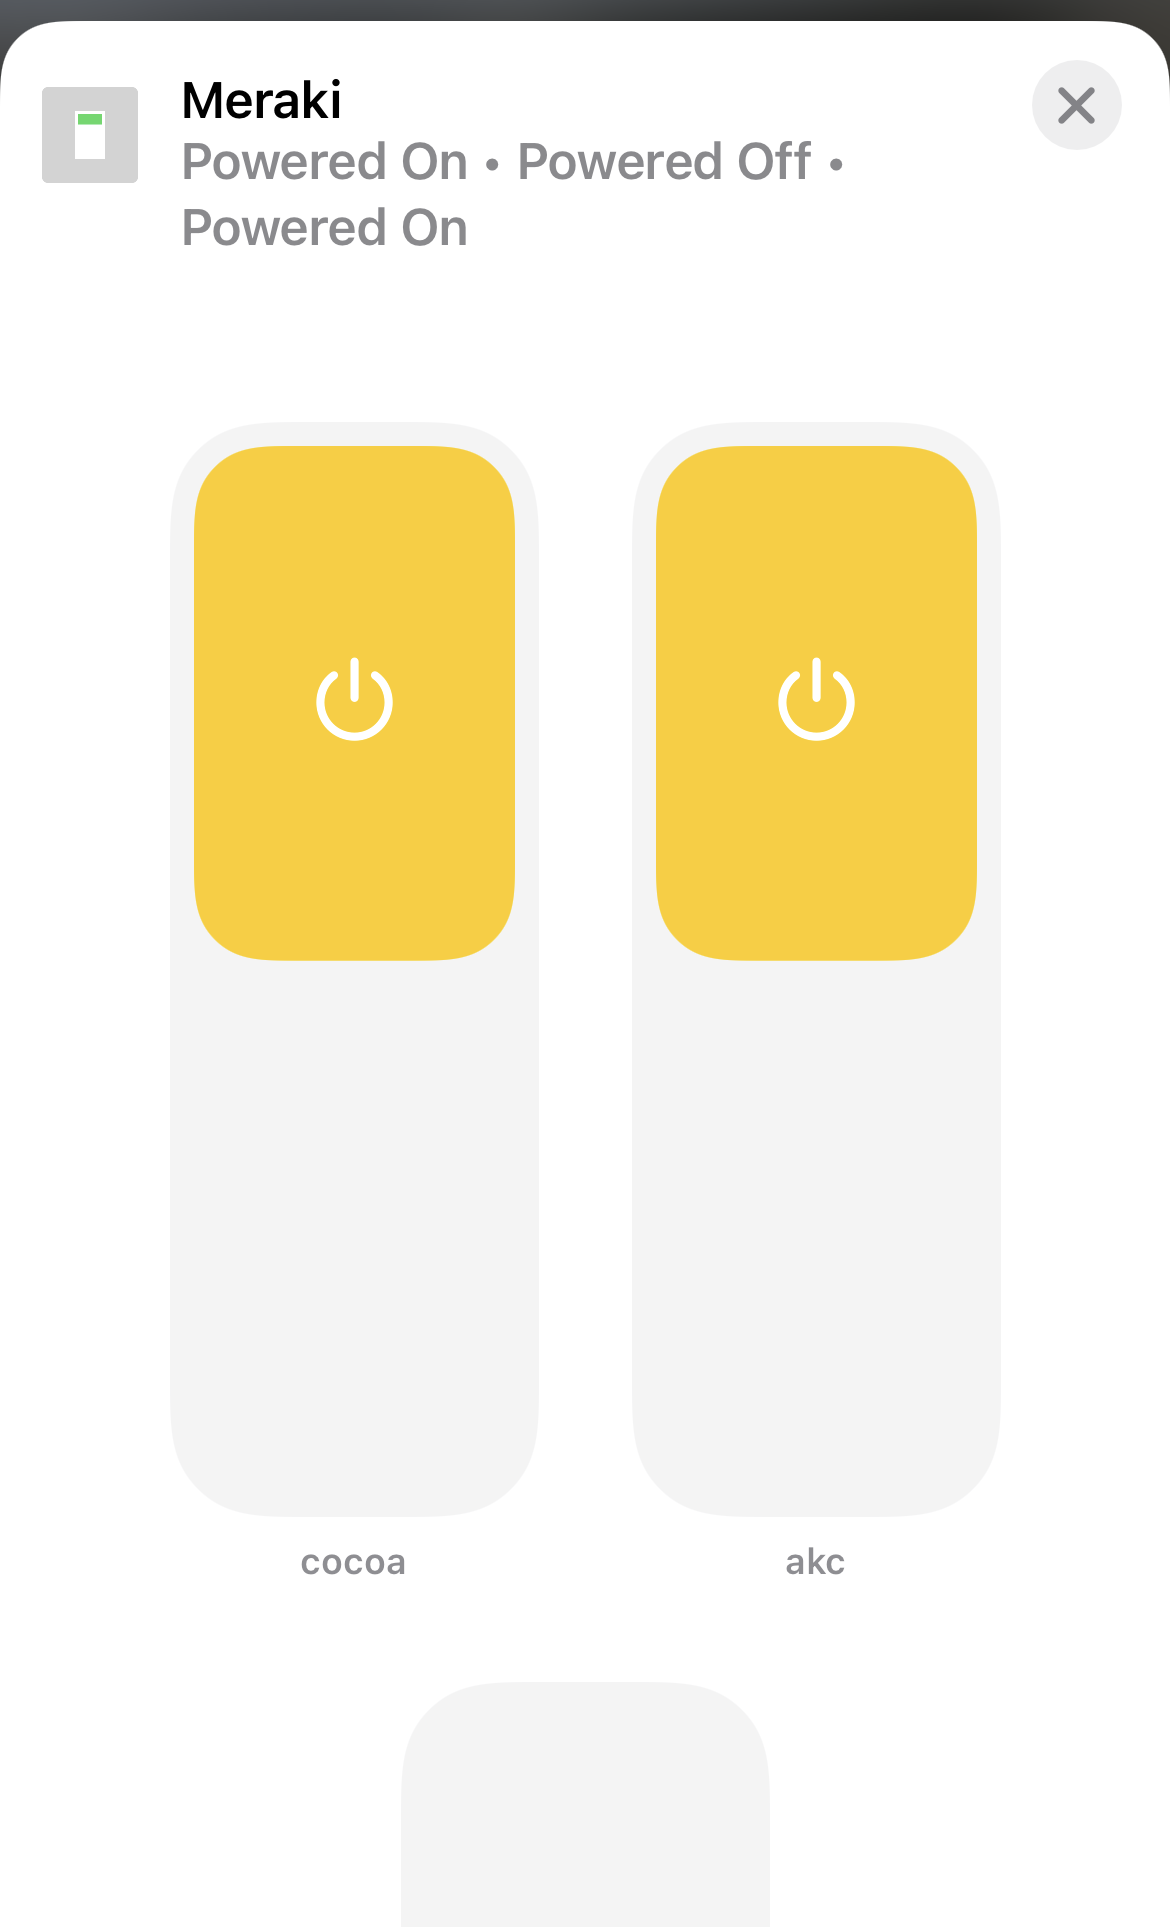
The purpose of this code is to create a Homebridge plugin to allow a wireless administrator to enable or disable a WLAN through a Light Switch control in Apple’s homekit or through Siri.
Installation
Run these commands:
% sudo npm install -g homebridge
% sudo npm install -g homebridge-meraki-mr
NOTE: If you install homebridge like this:
sudo npm install -g --unsafe-perm homebridge
Then all subsequent installations must be like this:
sudo npm install -g --unsafe-perm homebridge-meraki-mr
Configuration
Example accessory config (needs to be added to the homebridge config.json): ...
"platforms": [
	{
		"name": "Meraki WiFi",
		"apiKey": "4854372bf7b61bdb701512314e3134bcb3e61b85",
		"timeout": 10000,
		"refreshInterval": 15,
		"debug": false;
		"networks": [
			{
				"displayName": "Site 1",
				"networkId": "L_012345678901234501"
			},
			{
				"displayName": "Site 2",
				"networkId": "L_012345678901234502"
			}
		],
		"platform": "Meraki MR"
	}
]
...
Config Explanation:
| Field | Description |
|---|---|
| platform | (required) Must always be "Meraki MR". |
| name | (required) The internal name you want to use for the platform within Homebridge. |
| apiKey | (required) The Meraki API Key used to access the Meraki Dashboard. |
| timeout | (optional) The timeout duration in ms for the web API calls. |
| refreshInterval | (optional) The refresh interval in minutes for polling the WiFi status. |
| debug | (optional) Enables additional logging. |
| displayName | (required) The name you want to show for the WLC in homekit. |
| networkId | (required) The Meraki Network ID for the site or network. |
To make your Meraki Dashboard account work with the plugin:
- Login to your Meraki Dashboard account.
- In the Dashboard, go to Organization / Settings.
- Scroll down to the bottom and Enable access to the Cisco Meraki Dashboard API.
- Save Changes, then scroll to the top, click on your username on the right & click My Profile.
- Scroll down towards the bottom and under API Access, click on Generate API Key.
- Write down or copy the API Key.
- In the same browser, go to https://api.meraki.com/api/v0/organizations
- Use the resulting org id to browse to https://https://api.meraki.com/api/v0/organizations/{orgID}/networks
- Write down the network id(s) for the network(s) that you want to control.
- Create your config file according to the above example (or using the Homebridge UI).
More information
Check out https://github.com/nfarina/homebridge for more information about Homebridge.


