Easy To Integrate Maps & Location APIs & SDKs For Android Applications
Powered with India's most comprehensive and robust mapping functionalities.
-
You can get your api key to be used in this document here: Mappls Dashboard
-
The sample code is provided to help you understand the basic functionality of Mappls maps & REST APIs working on Android native development platform.
-
Explore through 200+ countries & territories with Global Search, Routing and Mapping APIs & SDKs by Mappls.
| Version | Last Updated | Author |
|---|---|---|
| 2.0.0 | 29 Aug 2025 | Mappls API Team |
Your Mappls Maps SDK usage needs a set of license keys (get them here) and is governed by the API terms and conditions. As part of the terms and conditions, you cannot remove or hide the Mappls logo and copyright information in your project.
The allowed SDK hits are described on the user dashboard page. Note that your usage is shared between platforms, so the API hits you make from a web application, Android app or an iOS app all add up to your allowed daily limit.
- Sign Up and Log In
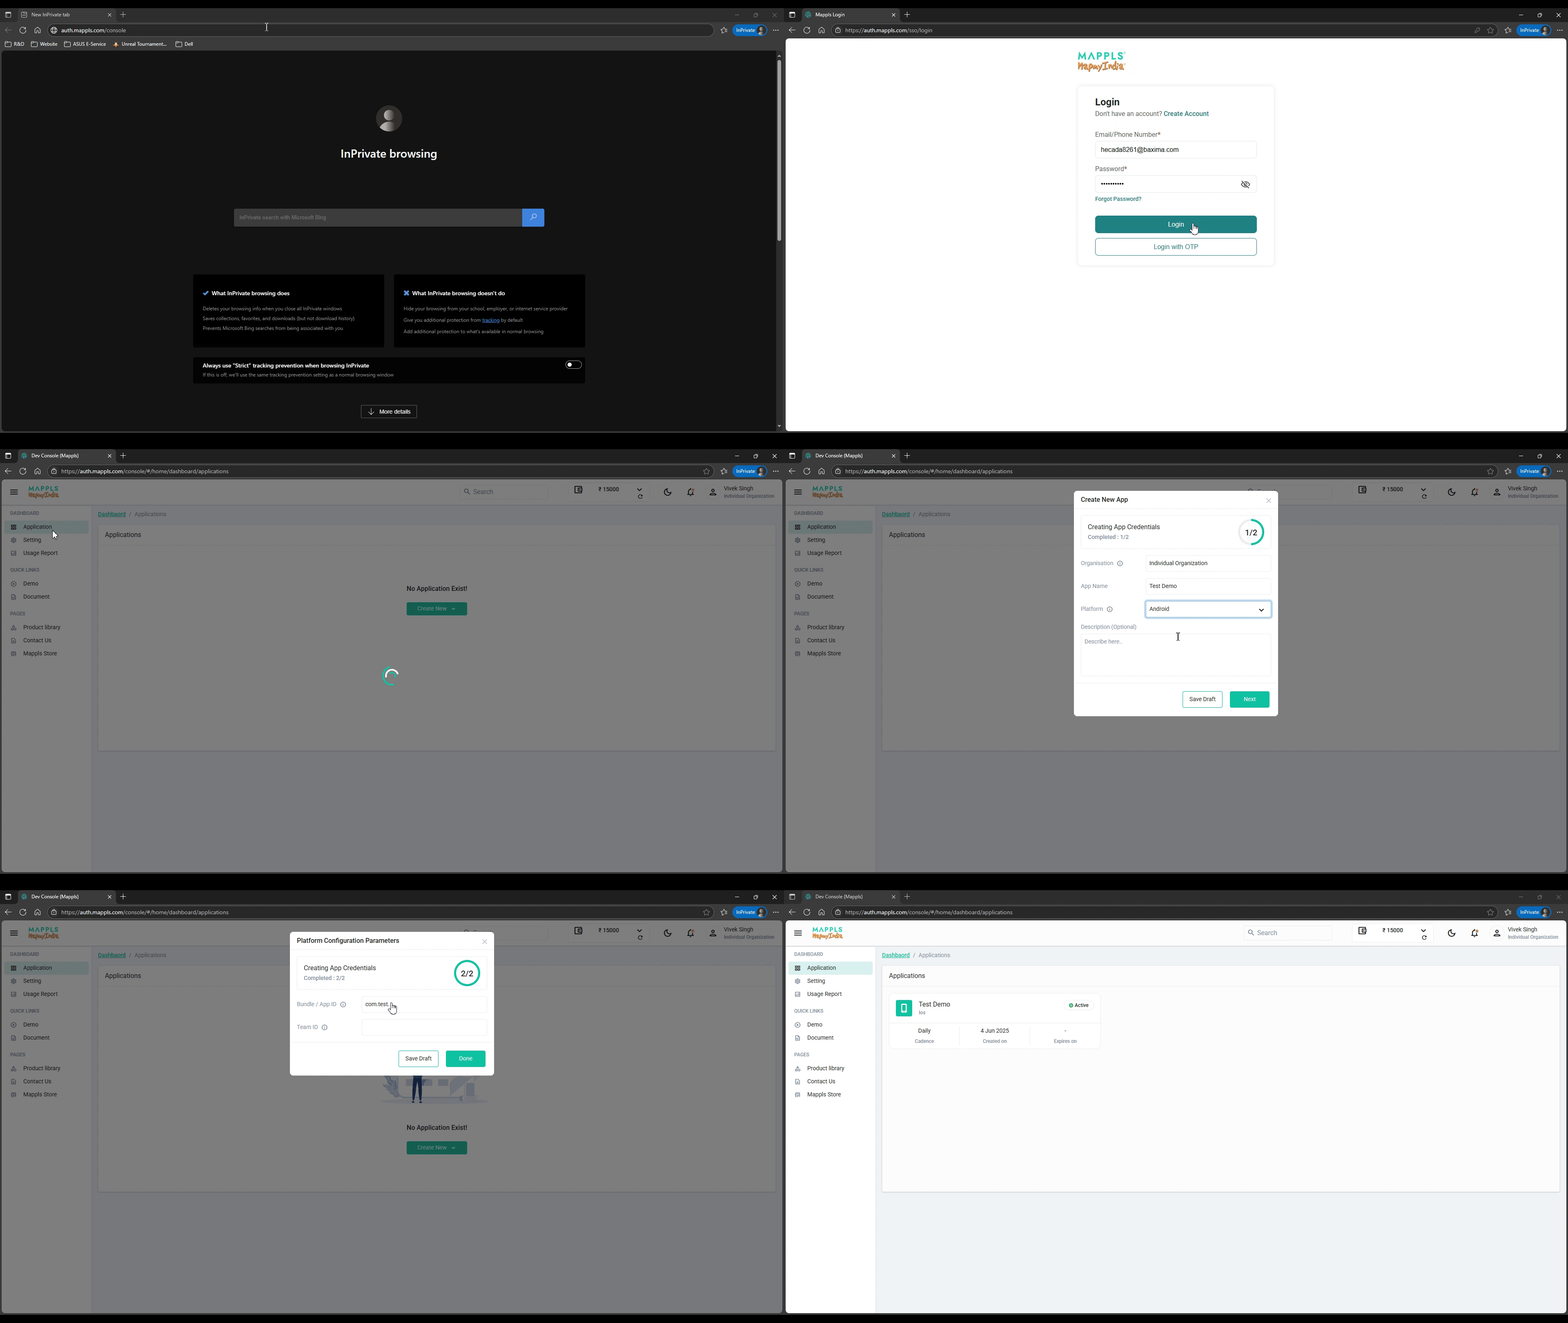
- Go to the Mappls Dashboard and sign up or log in.
- Create Separate Apps for Android & iOS
- Create two separate apps in the Mappls Dashboard:
- One for React Native Android
- One for React Native iOS
- Create two separate apps in the Mappls Dashboard:
- Install Dependencies
- Install all required dependencies for Mappls SDK integration into your React Native project.
- Android Configuration
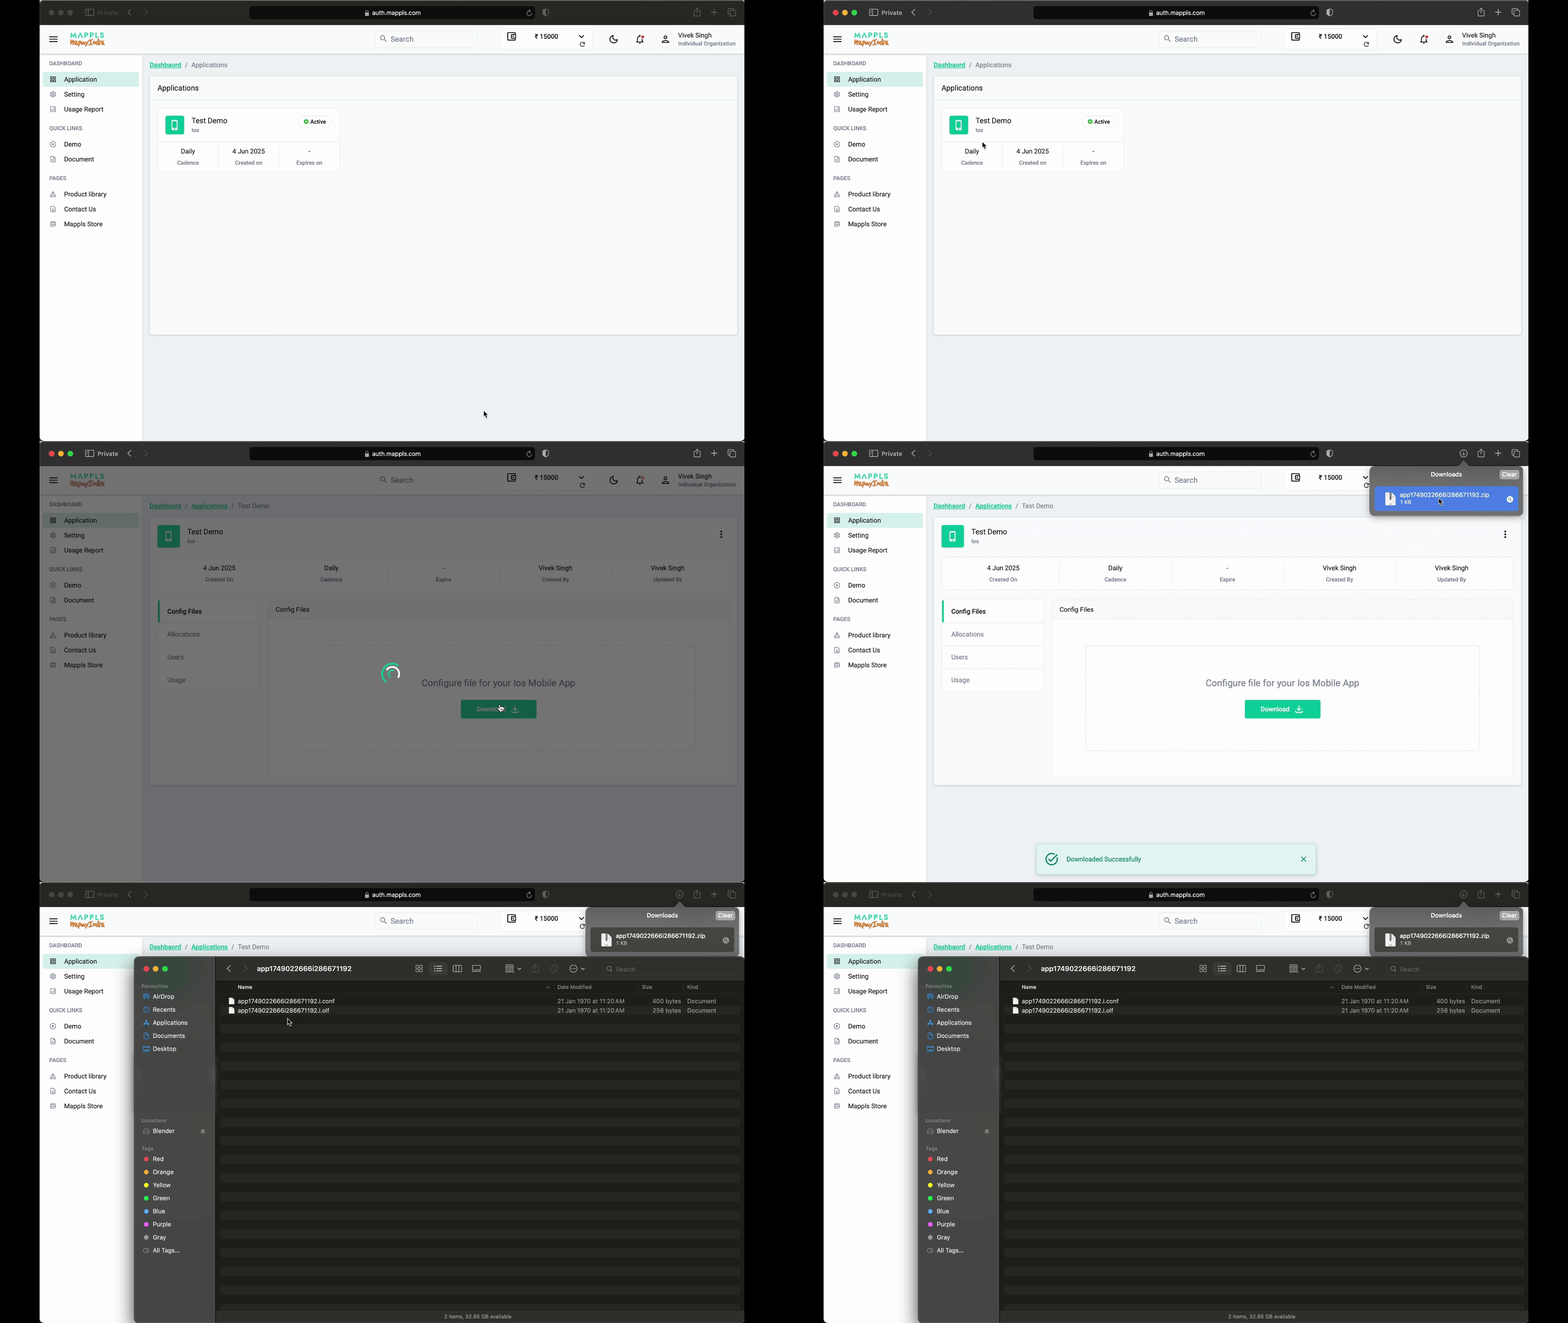
- Download configuration files for your Android app (associated with the Package Name and Signing Certificate SHA-256).
- Add the following configuration files to the app-level root directory of your Android project:
<appId>.a.olf
<appId>.a.conf
- iOS Configuration
- To initialize and authenticate Mappls SDK on iOS, include the following configuration files in your project bundle:
<appId>.i.olf <appId>.i.conf - In your
ios/Podfile, add the following line inside thepost_installblock:$MAPPLS_MAPS.post_install(installer)
- To initialize and authenticate Mappls SDK on iOS, include the following configuration files in your project bundle:
npm
npm install mappls-map-react-native --save
- Add the Mappls repository to your
settings.gradleorsettings.gradle.ktsfile:dependencyResolutionManagement { repositories { google() mavenCentral() maven(url = "https://maven.mappls.com/repository/mappls/") } }dependencyResolutionManagement { repositories { google() mavenCentral() maven { url 'https://maven.mappls.com/repository/mappls/' } } }
- Download Configuration files for your app (associated with Package Name and Signing Certificate SHA-256)
- Add Configuration files (
<appId>.a.olfand<appId>.a.conf) into the module app-level root directory of your app
- To initialize and authenticate any Mappls SDK, you must include IOS Configuration files(
<appId>.i.olfand<appId>.i.conf) in your project bundle - On iOS it's necessary to add $MAPPLS_MAPS.post_install(installer) to the post_install block in the ios/Podfile is necessary:
 post_install do |installer|
 # Other post install hooks...
 + $MAPPLS_MAPS.post_install(installer)
 end
import React, { Component } from "react";
import {View } from "react-native";
import  MapplsGL  from  'mappls-map-react-native';

export default class App extends Component {
 render() {
 return (
 <View style={{flex:1}}>
 <MapplsGL.MapView style={{flex:1}} >
	 <MapplsGL.Camera
		 ref={c  => (this.camera = c)}
		 zoomLevel={12}
		 minZoomLevel={4}
		 maxZoomLevel={22}
		 centerCoordinate={[77.231409,28.6162]}
	 />
 </MapplsGL.MapView>
 </View>
 );
 }
}
For any queries and support, please contact:
Email us at apisupport@mappls.com
Support
Need support? contact us!


