mochawesome
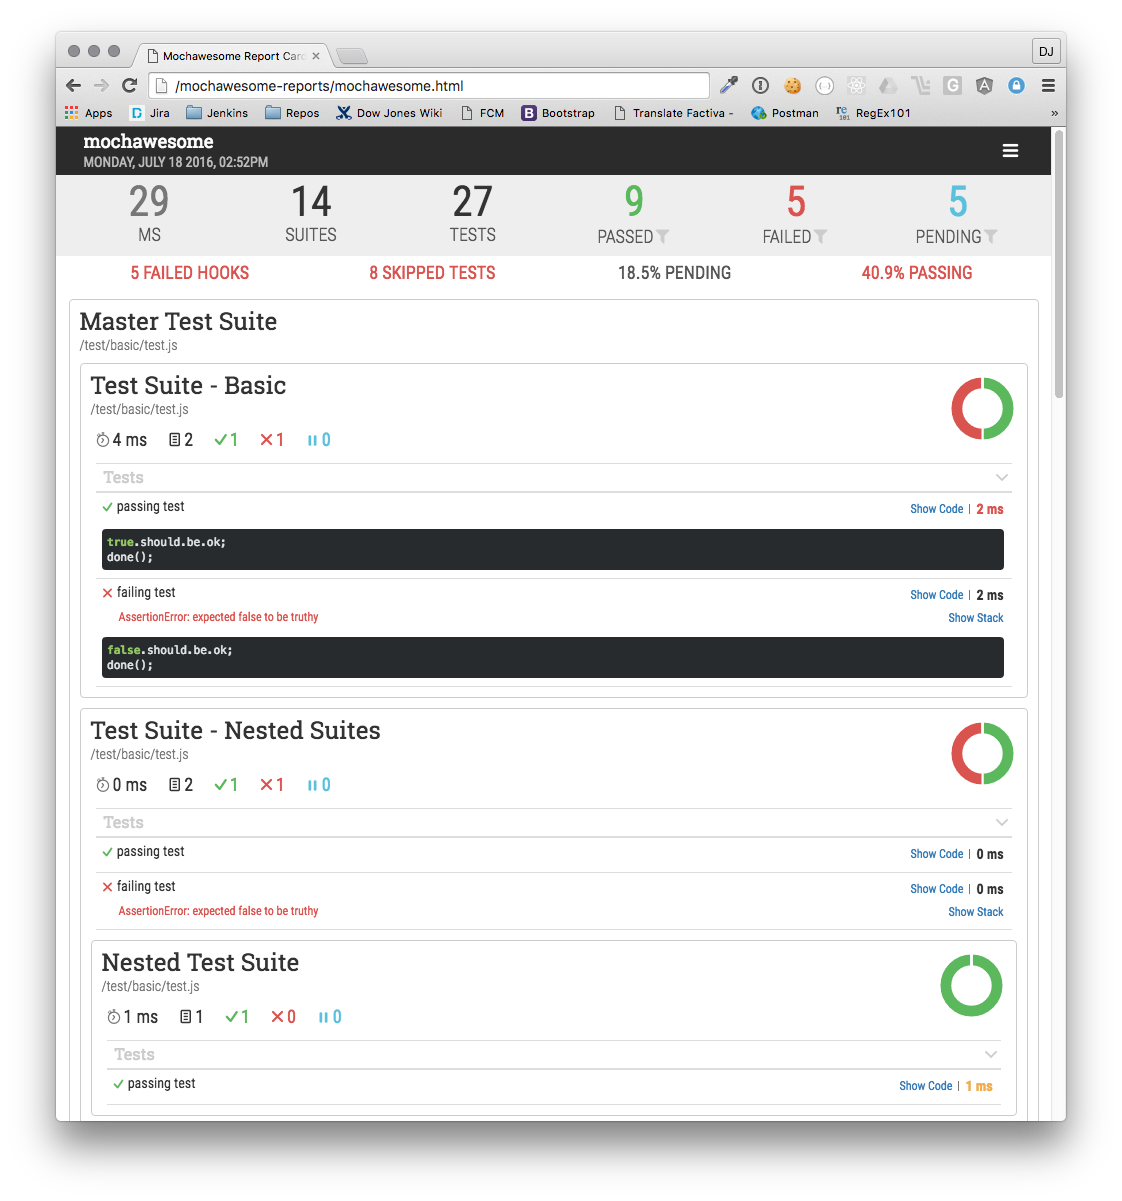
Mochawesome is a custom reporter for use with the Javascript testing framework, mocha. It generates a full fledged HTML/CSS report that helps visualize your test suites.
New in 1.4.0
- Added a slide-over navigation menu. Save time by quickly jumping to a specific test suite. The menu also gives you a quick way to see which suites are passing or have failing, skipped, or pending tests.
Features
- At-a-glance stats including pass percentage
- Beautiful charts
- Support for nested
describes - Supports pending tests
- Filter view by test type
- Quick navigation menu
- Review test code inline
- Stack trace for failed tests
- Responsive and mobile-friendly
- Saves JSON output for further processing
- Custom report options
- Offline viewing
Browser Support
Tested to work in Chrome. Should work in any modern web browser including IE9+. Mochawesome generates a self-contained report that can be viewed offline.
Sample Report


Usage
- Add Mochawesome to your project:
npm install --save-dev mochawesome
- Tell mocha to use the Mochawesome reporter:
mocha testfile.js --reporter mochawesome
- If using mocha programatically:
var mocha = reporter: 'mochawesome';Output
Mochawesome generates the following inside your project directory:
mochawesome-reports/
├── css
│   └── mochawesome.css
├── fonts
│   ├── Roboto+Condensed_300_normal.ttf
│   ├── Roboto+Condensed_300_normal.woff
│   ├── Roboto+Condensed_400_normal.svg
│   ├── Roboto+Condensed_400_normal.ttf
│   ├── Roboto+Condensed_400_normal.woff
│   ├── Roboto+Condensed_700_normal.ttf
│   ├── Roboto+Condensed_700_normal.woff
│   ├── Roboto+Slab_400_normal.svg
│   ├── Roboto+Slab_400_normal.ttf
│   ├── Roboto+Slab_400_normal.woff
│   ├── mochawesome.eot
│   ├── mochawesome.svg
│   ├── mochawesome.ttf
│   └── mochawesome.woff
├── js
│   ├── mochawesome.js
│   └── vendor.js
├── mochawesome.html
└── mochawesome.json
The two main files to be aware of are:
mochawesome.html - The rendered report file
mochawesome.json - The raw json output used to render the report
Options
Mochawesome supports options via environment variables or passed in to mocha via --reporter-options.
reportDir: {String}- changes the name of the report directoryreportName: {String}- changes the name of the report filereportTitle: {Sring}- changes the title of the reportinlineAssets: {Boolean}- whentrueinlines all report assets into a self-contained report file
Setting a custom filename will change both the report html and json files.
Options passed in will take precedence over environment variables.
Environment variables
$ export MOCHAWESOME_REPORTDIR=customReportDir$ export MOCHAWESOME_REPORTNAME=customReportName$ export MOCHAWESOME_REPORTTITLE=customReportTitle$ export MOCHAWESOME_INLINEASSETS=trueMocha options
$ mocha test.js --reporter mochawesome --reporter-options reportDir=customReportDir,reportName=customReportName,reportTitle=customReportTitle,inlineAssets=truevar mocha = reporter: 'mochawesome' reporterOptions: reportDir: 'customReportDir' reportName: 'customReportName' reportTitle: 'customReportTitle' inlineAssets: true ;Development
If you wish to make changes to the reporter you will need to clone the repo and build locally. Building requires you to have gulp installed.
Installation
$ git clone https://github.dowjones.net/grubera/mochawesomeModifying
Reporter files are found in /lib directory.
Templates, styles, and client-side scripts are in the /src directory.
Building
There are several gulp tasks available but the main ones to be aware of are:
gulp build - Full Build
Runs jshint, parses LESS, compiles templates, concatenates and minifies scripts. Note: This task will fail if linting fails.
gulp watch - Watch Files
Watches for changes to JS, LESS, and MU and builds when a change is detected. If a change is detected in a JS file this will run jshint first before building and will fail on any lint errors.
gulp lint - Lint JS
This will run jshint only, no building will occur.
gulp test - Run Test
After building you can run this to test the reporter and see the output. Note: The default gulp task will run this task.
gulp testOpts - Run Test with Options
After building you can run this to test the reporter and see the output.
