Nerv is a virtual-dom based JavaScript (TypeScript) library with identical React 16 API, which offers much higher performance, tinier package size and better browser compatibility.
Features
⚛ Identical React API, no 'nerv-compat' is needed
️⚔ Battle tested, serve in JD.com home page and TOPLIFE.com
⚡️ High performance
🤣 IE8 compatibility
🎯 Tiny size, 9Kb gzipped
🌗 Isomorphic rendering on both client and server
💫 Support React 16 features, Error Boundaries, Portals, custom DOM attributes, etc.
Packages
This repository is a monorepo that we manage using Lerna. That means that we actually publish several packages to npm from the same codebase, including:
| Package | Description |
|---|---|
nervjs |
The core of Nerv |
nerv-redux |
Nerv binding for Redux |
nerv-devtools |
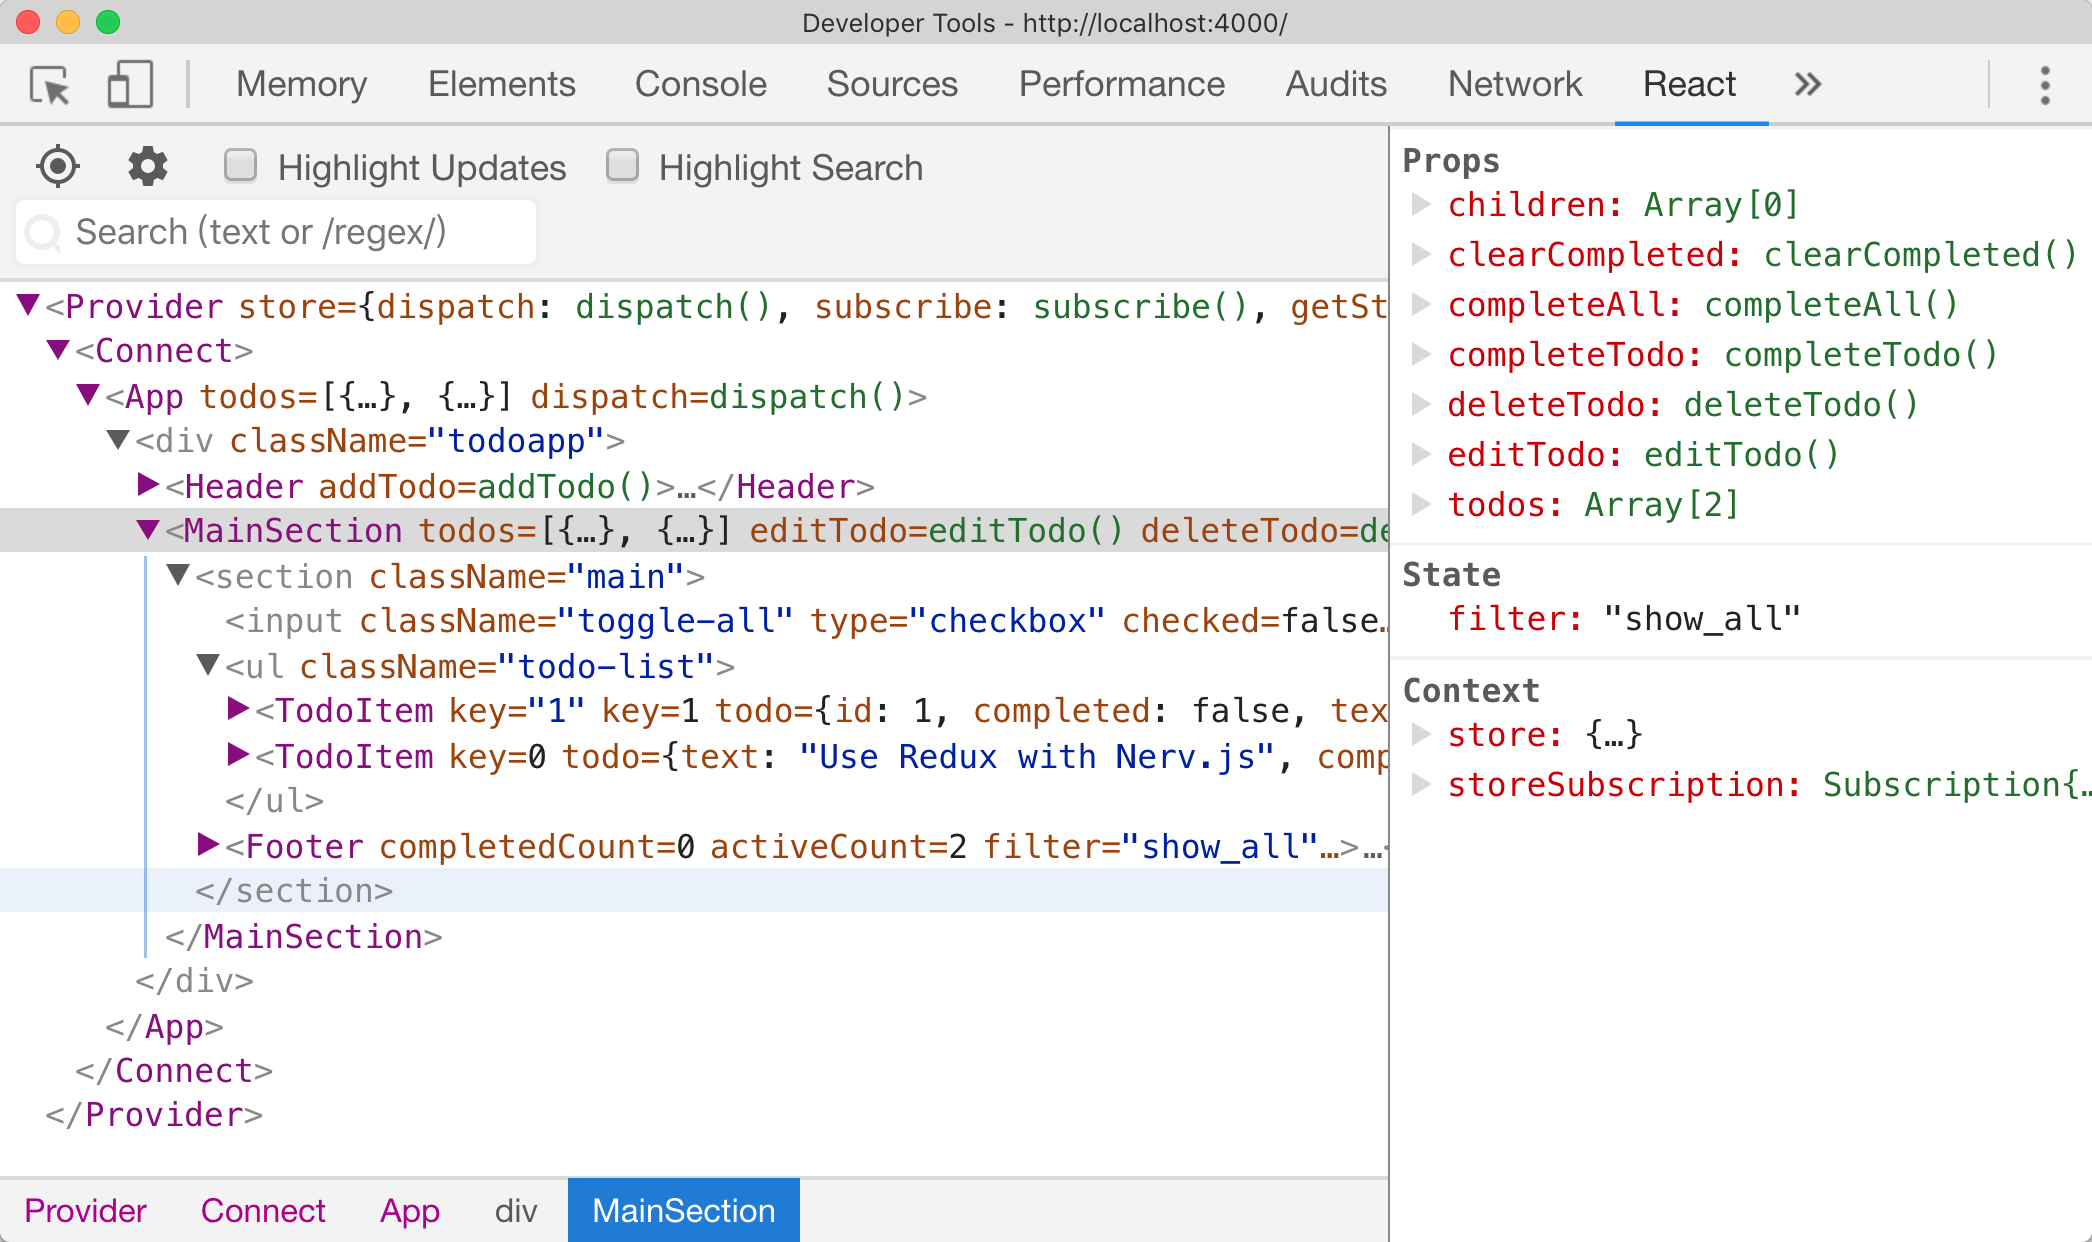
Provides support for React's Dev Tools for Nerv |
nerv-server |
Support for server side rendering |
nerv-test-utils |
Suite of utilities for testing Nerv applications |
nerv-utils |
Internal Helpers functions for Nerv |
nerv-shared |
Internal shared functions for Nerv |
nerv-create-class |
The legacy createClass API for Nerv |
Getting Started
The easiest way to get started with Nerv is using CodeSandbox Playground, If you use React, you already know how to use Nerv.
Install
Of course we recommend that you use Nerv with Webpack and Babel.First you can install Nerv like this
With npm
$ npm install --save nervjsWith yarn
$ yarn add nervjsUsage
Import what you need. Nerv provides both named and default exports, you can use Nerv as a namespace or simply import what you need as locals.
Default exports:
Component { return <div>Hello thispropsname</div> } NervNamed:
{ return <div>Hello thispropsname</div> } ☝️ For more information please move to the official development document
Examples
- TodoMVC, built with Nerv and Redux
- Nerv's landing page, built with Nerv and react-intl
- JD.com
- TOPLIFE.com
Switching to Nerv from React
Switching to Nerv from React is easy as adding alias nervjs for react and react-dom. No changes in code needed.
Usage with Webpack
Add an alias in your webpack.config.js:
// ... resolve: alias: 'react': 'nervjs' 'react-dom': 'nervjs' // Not necessary unless you consume a module using `createClass` 'create-react-class': "nerv-create-class" // ...Usage with Babel
Install the babel plugin for aliasing
$ npm install --save-dev babel-plugin-module-resolverIn .babelrc:
"plugins": "module-resolver" "root": "." "alias": "react": "nervjs" "react-dom": "nervjs" // Not necessary unless you consume a module using `createClass` "create-react-class": "nerv-create-class" Usage with Browserify
Install the aliasify transform:
$ npm i --save-dev aliasifyThen in your package.json:
"aliasify": "aliases": "react": "nervjs" "react-dom": "nervjs" Compatible with React
Nerv currently support React API and features:
react
- React.createClass (legacy)
- React.createElement
- React.cloneElement
- React.Component
- React.PureComponent
- React.PropTypes
- React.Children
- React.isValidElement
- React.createFactory
- Error Boundaries (React 16)
react-dom
- React.unstable_renderSubtreeIntoContainer (legacy)
- ReactDOM.render
- ReactDOM.unmountComponentAtNode
- ReactDOM.findDOMNode
- ReactDOM.hydrate (React 16)
- ReactDOM.createPortal (React 16)
Internet Explorer 8 (or below) compatibility
First, install es5-polyfill:
npm install --save es5-polyfillThen insert the code into the beginning of your entry file:
;At last, setting .babelrc if you are using babel:
"presets": "env" "spec": true "useBuiltIns": false "es3" ...Developer Tools
Nerv has a development tools module which allows you to inspect the component hierarchies via the React Chrome Developer Tools plugin.
To enable the Nerv development tools you must install the nerv-devtools module and then require('nerv-devtools') before the initial Nerv.render().
if processenvNODE_ENV !== 'production' // before Nerv.render()Nerv
Change Log
Acknowledgement
AOTU.IO(JD Multi-terminal Development Department)


