GFM Markdown WYSIWYG Editor - Productive and Extensible
🚩 Table of Contents
- Collect Statistics on the Use of Open Source
- Documents
- Standard and Extensible
- Features
- Examples
- Install
- Wrappers
- Usage
- Browser Support
- Pull Request Steps
- Contributing
- TOAST UI Family
- Used By
- License
Collect Statistics on the Use of Open Source
TOAST UI Editor applies Google Analytics (GA) to collect statistics on the use of open source, in order to identify how widely TOAST UI Editor is used throughout the world. It also serves as important index to determine the future course of projects. location.hostname (e.g. > “ui.toast.com") is to be collected and the sole purpose is nothing but to measure statistics on the usage. To disable GA, use the following usageStatistics options when creating editor.
const options = {
  // ...
  usageStatistics: false
}

const instance = new Editor(options);
Or, include tui-code-snippet(v1.5.0 or later) and then immediately write the options as follows:
tui.usageStatistics = false;📙 Documents
 Standard and Extensible
CommonMark + GFM Specifications
Today CommonMark is the de-facto Markdown standard. GFM (GitHub Flavored Markdown) is another popular specification based on CommonMark - maintained by GitHub, which is the Markdown mostly used. TOAST UI Editor follows both CommonMark and GFM specifications. Write documents with ease using productive tools provided by TOAST UI Editor and you can easily open the produced document wherever the specifications are supported.
Powerful Extensions
CommonMark and GFM are great, but we often need more abstraction. The TOAST UI Editor comes with powerful Extensions in compliance with the Markdown syntax. You also get the flexibility to develop your own extensions using simple APIs.
Here are some of the extensions you can start with:
- Color Picker: ColorPicker provides an easy way to color text with a GUI tool box.
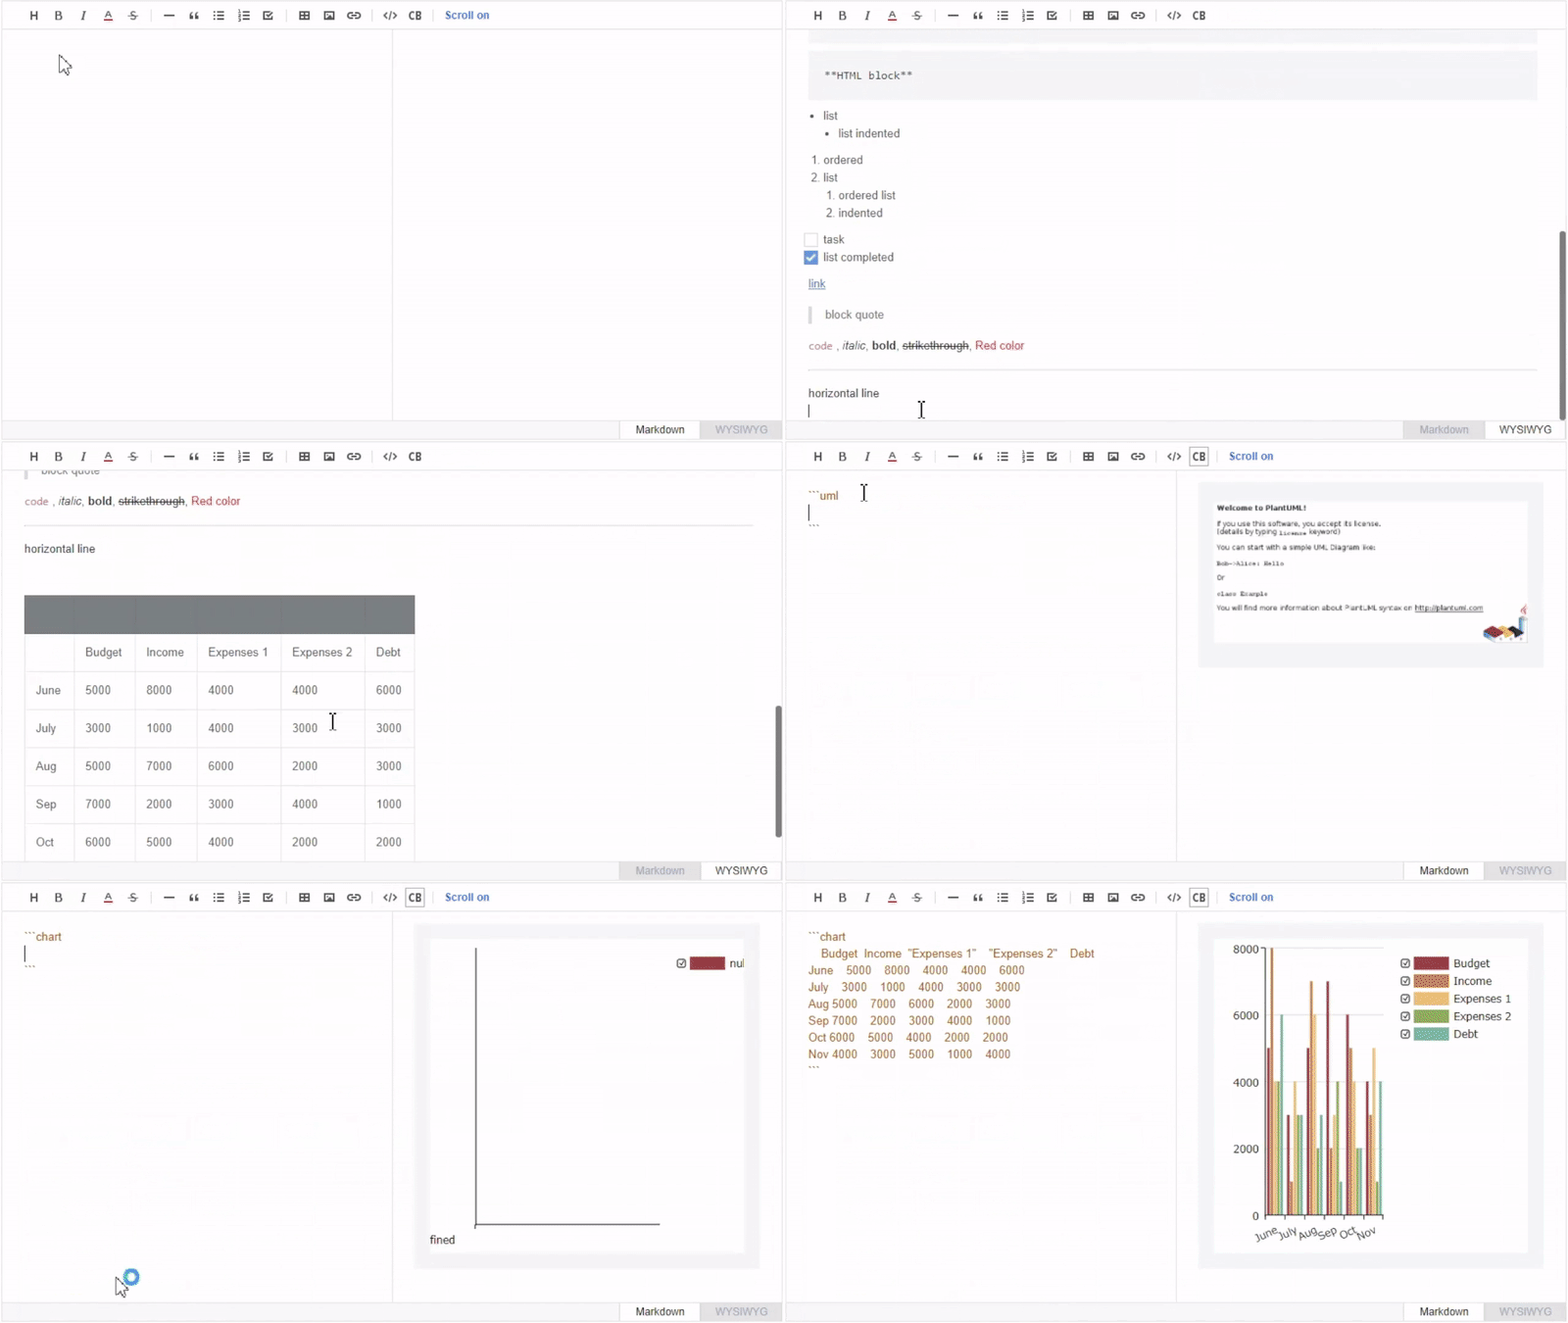
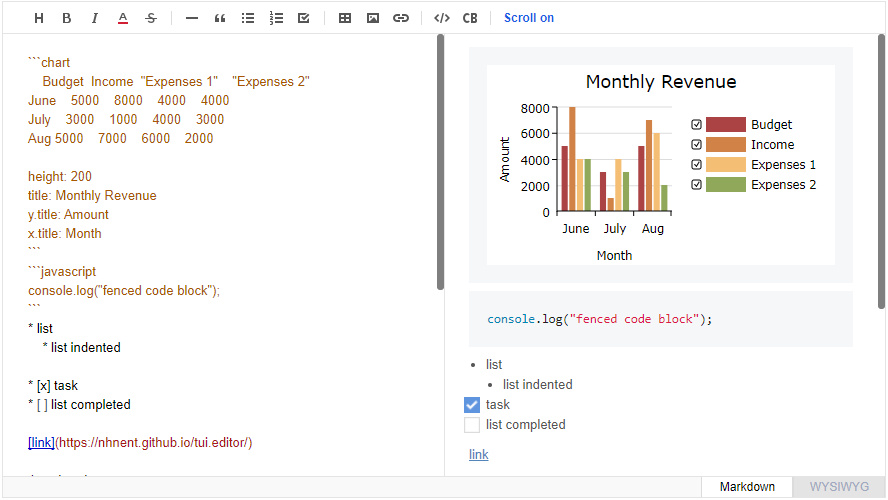
- Chart Code Block: A code block marked as a 'chart' will render charts.
- UML Code Block: A code block marked as an 'uml' will render UML diagrams.
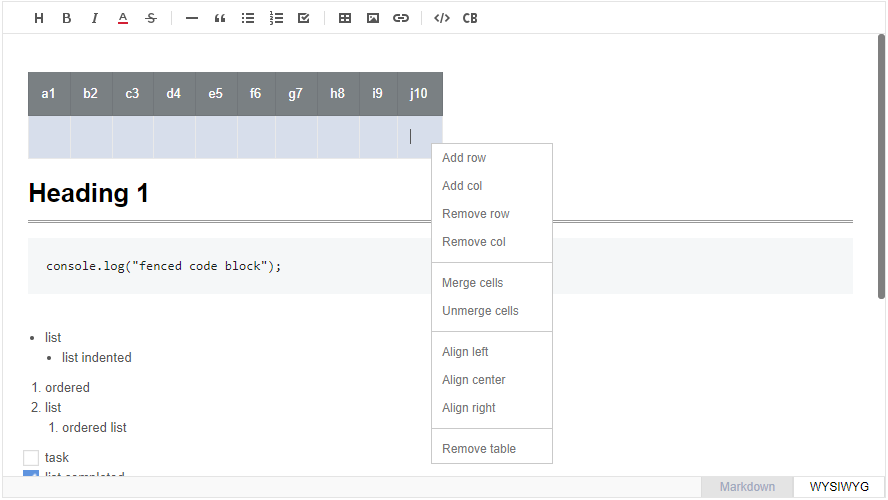
- Table Merge: You can merge columns and rows in tables.
To learn more about Extensions check the Using Extension.
🎨 Features
TOAST UI Editor provides Markdown mode and WYSIWYG mode.
Depending on the type of use you want like production of Markdown or maybe to just edit the Markdown. The TOAST UI Editor can be helpful for both the usage. It offers Markdown mode and WYSIWYG mode, which can be switched any point in time.
Productive Markdown Mode
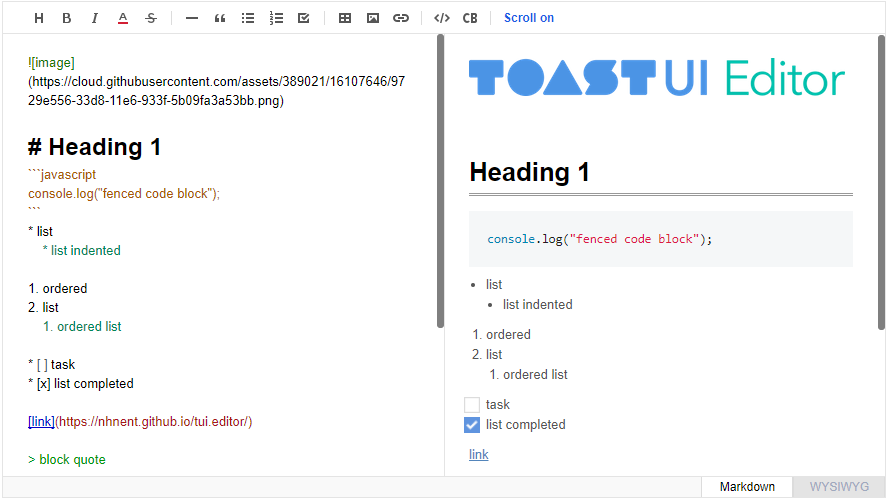
- Live Preview: Edit Markdown while keeping an eye on the rendered HTML. Your edits will be applied immediately.
- Scrolling Sync: Synchronous scrolling between Markdown and Preview. You don't need to scroll through each one separately.
- Auto Indent: The cursor will always be where you want it to be.
- Syntax Highlight: You can check broken Markdown syntax immediately.
Easy WYSIWYG Mode
- Copy and Paste: Paste anything from browser, screenshot, excel, powerpoint, etc.
- Codeblock Editor: Highlight 170+ languages with full size code editor.
- Table: Hate the Markdown table? You can do everything with a mouse.
And More
- i18n: English, Dutch, Korean, Japanese, Chinese, Spanish, German, Russian, French, Ukrainian, Turkish, Finnish, Czech, Arabic, Polish, Galician, Swedish, Italian, Norwegian + language you extend.
- Viewer: Renders Markdown content with extensions
🐾 Examples
💾 Install
TOAST UI products can be used by using the package manager or downloading the source directly. However, we highly recommend using the package manager.
Via Package Manager
TOAST UI products are registered in two package managers, npm and bower. You can conveniently install it using the commands provided by the package manager. When using npm, be sure to use it in the environment Node.js is installed.
npm
$ npm install --save tui-editor # Latest version
$ npm install --save tui-editor@<version> # Specific version
Via Contents Delivery Network (CDN)
TOAST UI products are available over the CDN powered by TOAST Cloud.
You can use the CDN as below.
<!-- Styles -->
<link rel="stylesheet" href="https://uicdn.toast.com/tui-editor/latest/tui-editor.css"></link>
<link rel="stylesheet" href="https://uicdn.toast.com/tui-editor/latest/tui-editor-contents.css"></link>
<link rel="stylesheet" href="https://cdnjs.cloudflare.com/ajax/libs/codemirror/5.48.4/codemirror.css"></link>
<link rel="stylesheet" href="https://cdnjs.cloudflare.com/ajax/libs/highlight.js/9.12.0/styles/github.min.css"></link>
<!-- Scripts -->
<script src="https://uicdn.toast.com/tui-editor/latest/tui-editor-Editor-full.js"></script>
If you want to use a specific version, use the tag name instead of latest in the url's path.
The CDN directory has the following structure.
tui-editor/
├─ latest/
│  ├─ tui-editor-Editor.js
│  ├─ tui-editor-Editor.min.js
│  └─ ...
├─ v1.1.0/
│  ├─ ...
Download Source Files
🛍️ Wrappers
- toast-ui.vue-editor: Vue wrapper component is powered by NHN.
- toast-ui.react-editor: React wrapper component is powered by NHN.
- ember-tui-editor: Ember wrapper component by @evocount. Thanks for their effort.
🔨 Usage
The code below shows an example of using ES6 in node environment. If you are using bower please see Getting Started with Bower.
Create Editor
HTML
Add the container element where TOAST UI Editor will be created.
<div id="editorSection"></div>JavaScript
TOAST UI Editor can be used by creating an instance with the constructor function. To get the constructor function, you should import the module using one of the following ways depending on your environment.
const Editor = require('tui-editor'); /* CommonJS */import Editor from 'tui-editor'; /* ES6 */Then import styles of TOAST UI Editor and dependencies.
import 'tui-editor/dist/tui-editor.css'; // editor's ui
import 'tui-editor/dist/tui-editor-contents.css'; // editor's content
import 'codemirror/lib/codemirror.css'; // codemirror
import 'highlight.js/styles/github.css'; // code block highlight
Finally you can create an instance with options and call various API after creating an instance.
import 'codemirror/lib/codemirror.css';
import 'tui-editor/dist/tui-editor.css';
import 'tui-editor/dist/tui-editor-contents.css';
import 'highlight.js/styles/github.css';

import Editor from 'tui-editor';

const instance = new Editor({
  el: document.querySelector('#editorSection'),
  initialEditType: 'markdown',
  previewStyle: 'vertical',
  height: '300px'
});

instance.getHtml();
If you use jQuery plugin, you can use it as follows.
$('#editorSection').tuiEditor({
  initialEditType: 'markdown',
  previewStyle: 'vertical',
  height: '300px'
});
Default Options
-
height: Height in string or auto ex)300px|auto -
initialValue: Initial value. Set Markdown string -
initialEditType: Initial type to showmarkdown|wysiwyg -
previewType: Preview style of Markdown modetab|vertical -
usageStatistics: Let us know the hostname. We want to learn from you how you are using the Editor. You are free to disable it.true|false
Find out more options here
Create Viewer
TOAST UI Editor provides the Viewer in case you want to show Markdown content without loading the Editor. The Viewer is much lighter than the Editor.
import 'tui-editor/dist/tui-editor-contents.css';
import 'highlight.js/styles/github.css';

import Viewer from 'tui-editor/dist/tui-editor-Viewer';

const instance = new Viewer({
  el: document.querySelector('#viewerSection'),
  height: '500px',
  initialValue: '# content to be rendered'
});

instance.getHtml();
Be careful not to load both the Editor and the Viewer at the same time because the Editor already contains the Viewer function, you can initialize editor Editor.factory() and set the viewer option to value true in order to make the editor a viewer. You can also call getHtml() to render the HTML.
import Editor from 'tui-editor';

const instance = Editor.factory({
  el: document.querySelector('#viewerSection'),
  viewer: true,
  height: '500px',
  initialValue: '# content to be rendered'
});
TOAST UI Editor follows CommonMark and GFM. So any Markdown renderer including markdown-it can handle the content made using TOAST UI Editor. You can also use any of these renderer in place of TOAST UI Editor Viewer.
🌏 Browser Support
 Chrome Chrome |
 Internet Explorer Internet Explorer |
 Edge Edge |
 Safari Safari |
 Firefox Firefox |
|---|---|---|---|---|
| Yes | 10+ | Yes | Yes | Yes |
🔧 Pull Request Steps
All TOAST UI products are open source. A Pull Request (PR) can be made upon fixing an issue or developing additional features to be implemented.
Install
To install, first fork the master branch to your own personal repository. Then, clone the forked repository to your local machine, and install the following node module. Prior to development, first, make sure that the modules are properly installed.
$ git clone https://github.com/{your-personal-repo}/tui.editor.git
$ cd tui.editor
$ npm install
$ npm run test
Develop
You can see your code is reflected as soon as you saving the codes by running a server. Don't miss adding test cases and then make green rights.
Run webpack-dev-server
$ npm run serveRun karma
$ npm run testPull Request
Before creating a PR, test and check for any errors. If there are no errors, then commit and push.
For more information, please refer to the Contributing section.
💬 Contributing
🍞 TOAST UI Family
🚀 Used By
- TOAST Dooray! - Collaboration Service (Project, Messenger, Mail, Calendar, Drive, Wiki, Contacts)
- UNOTES - Visual Studio Code Extension


