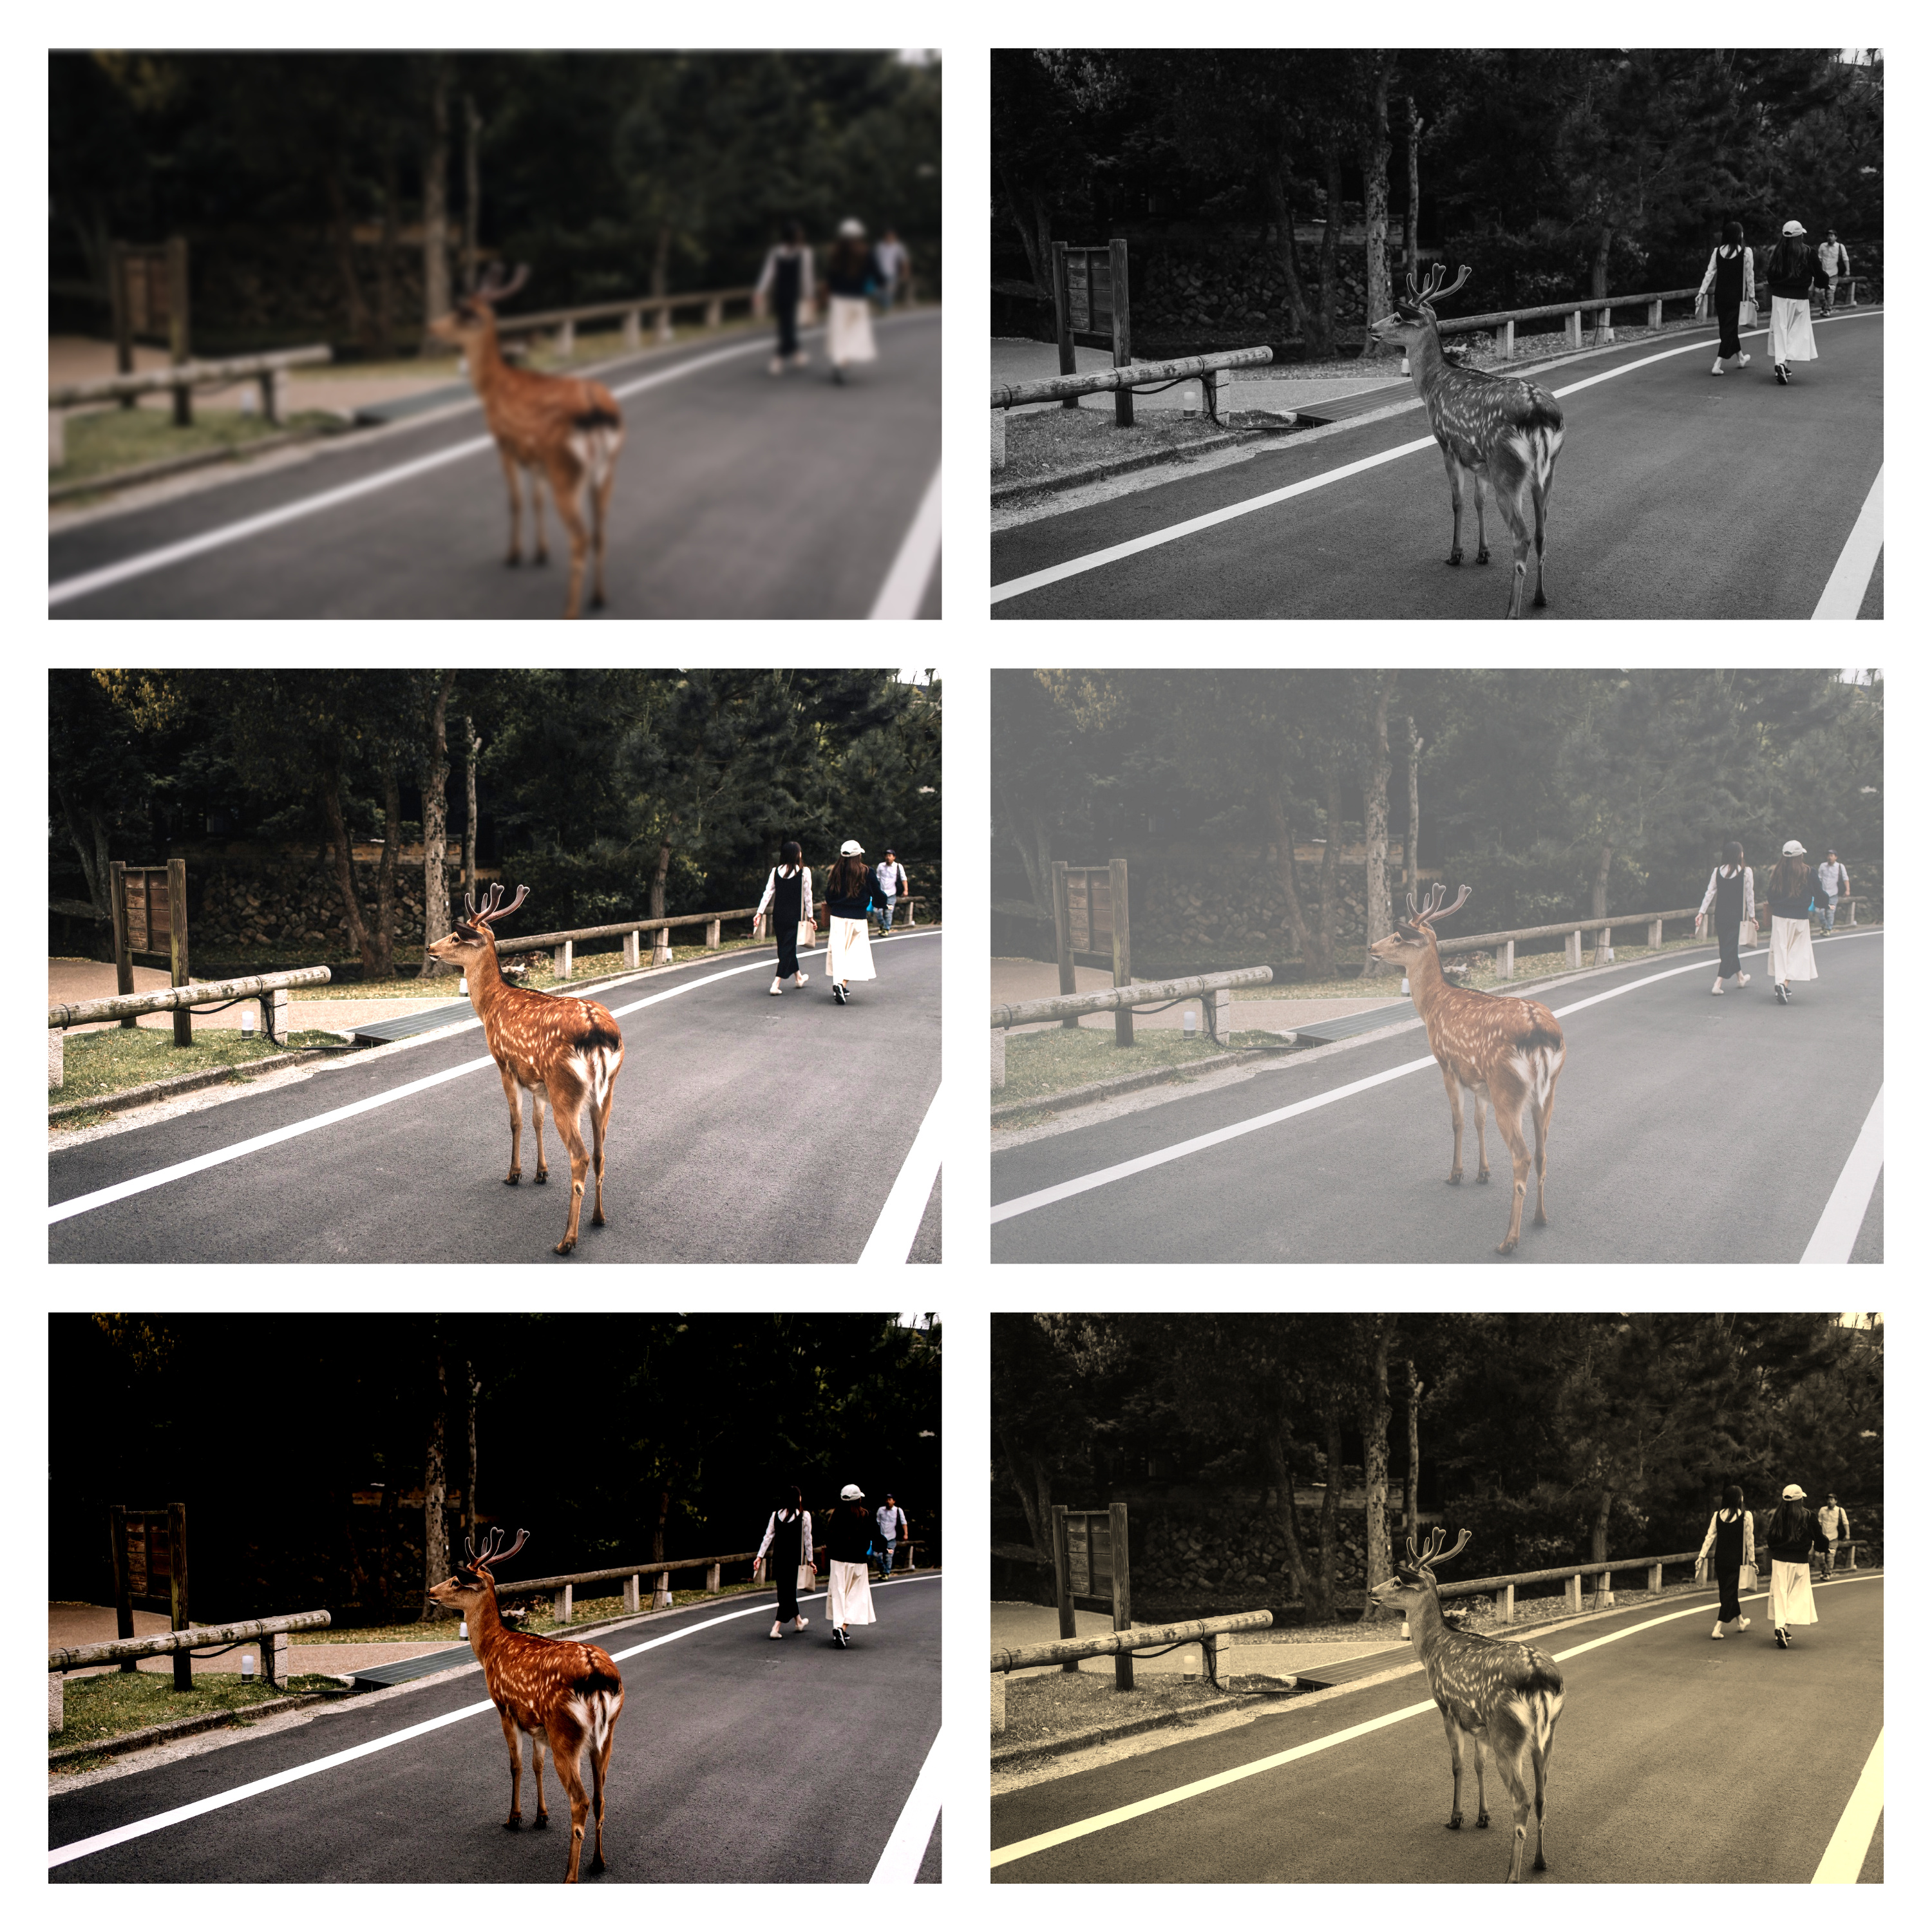
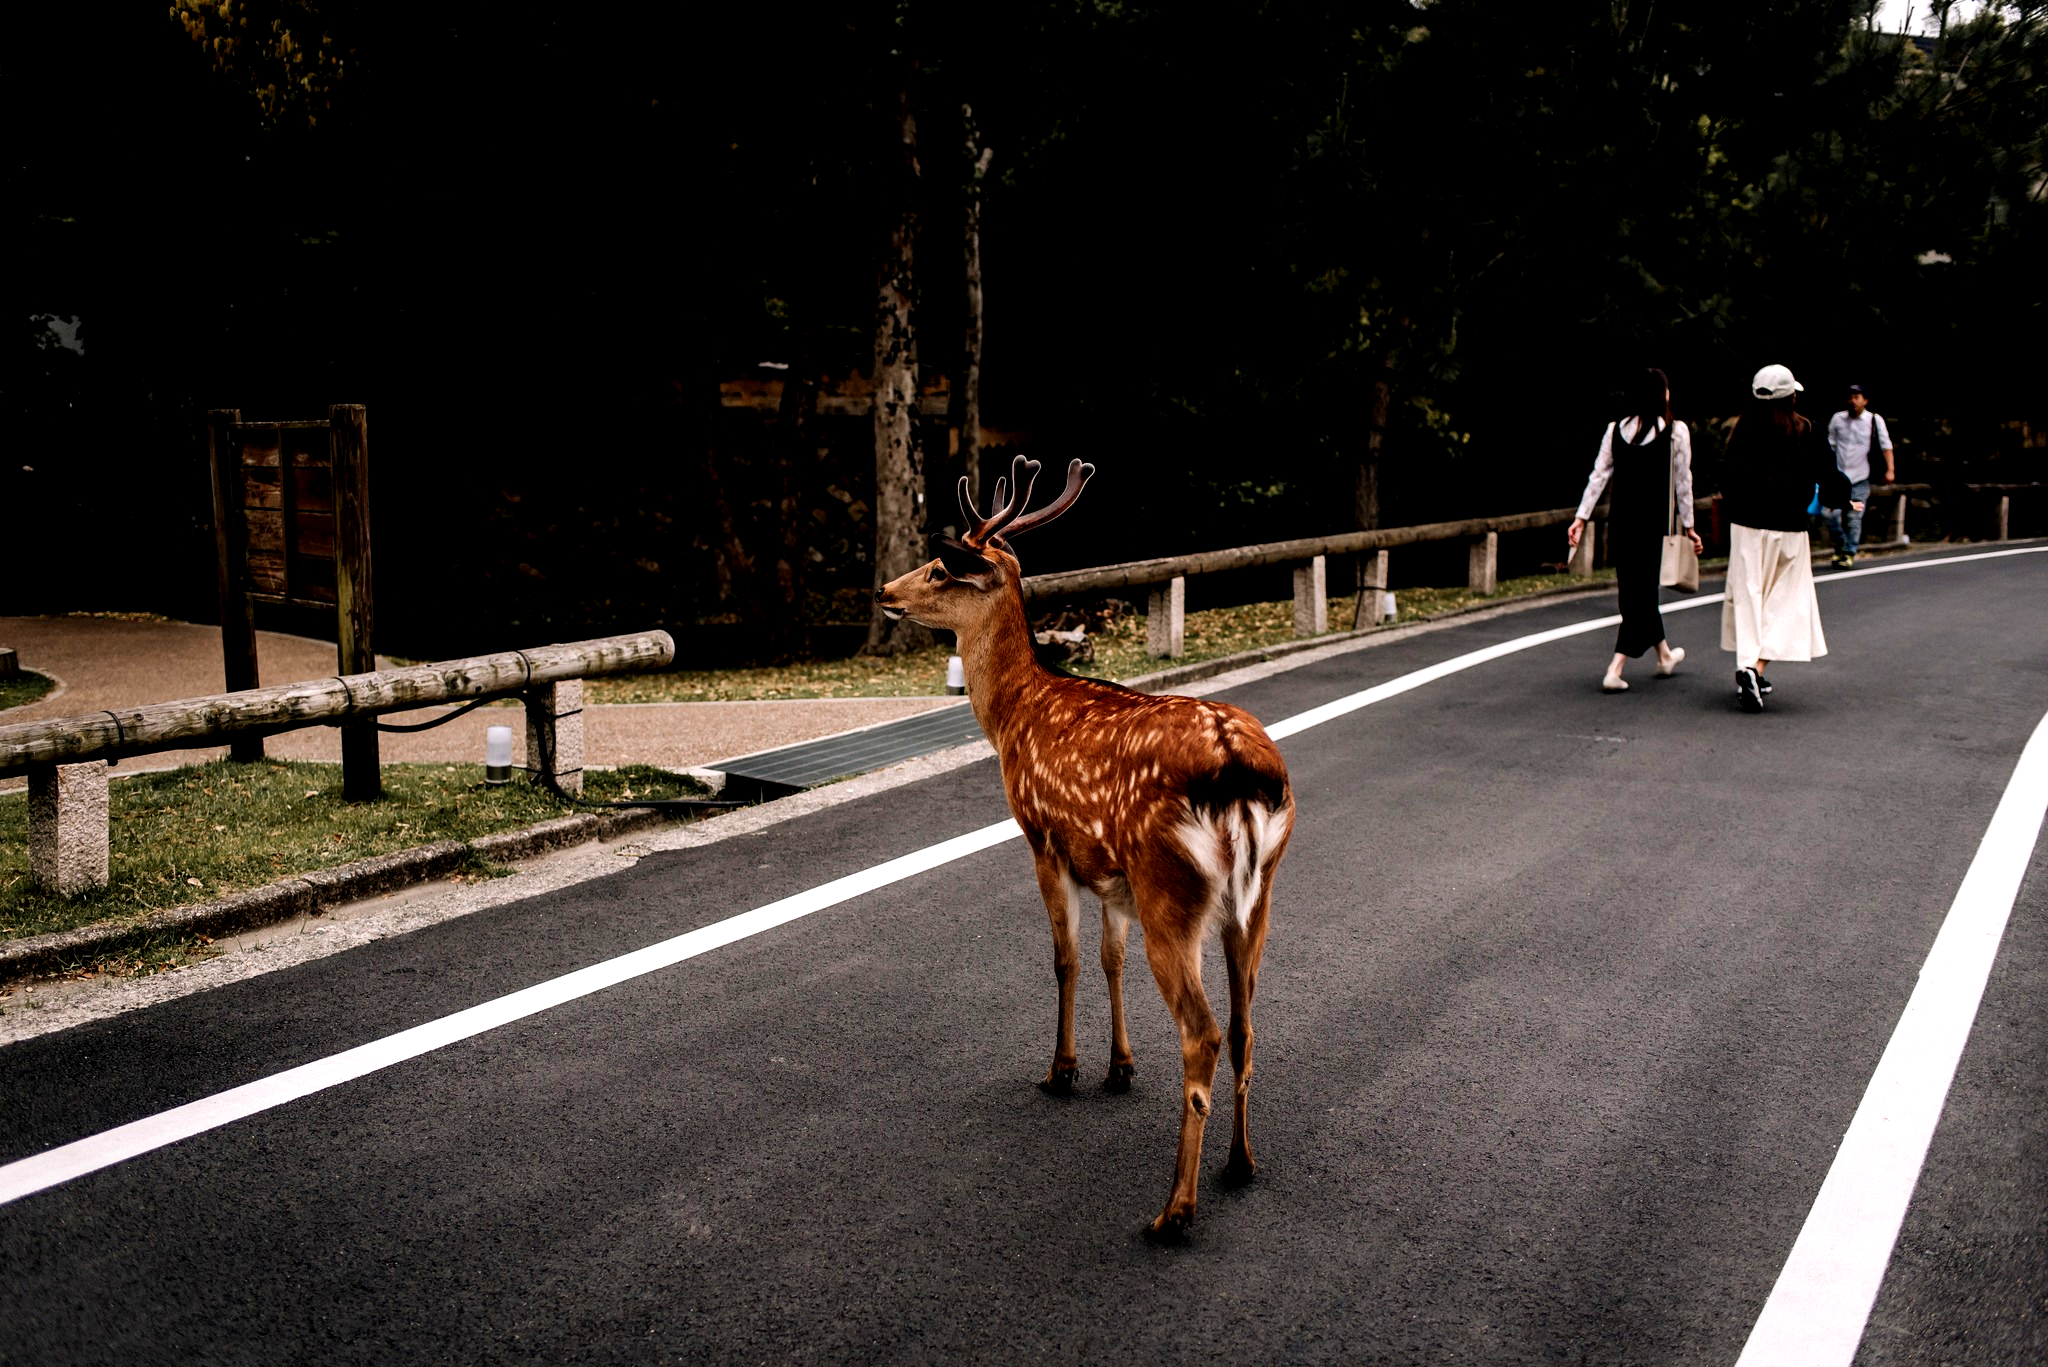
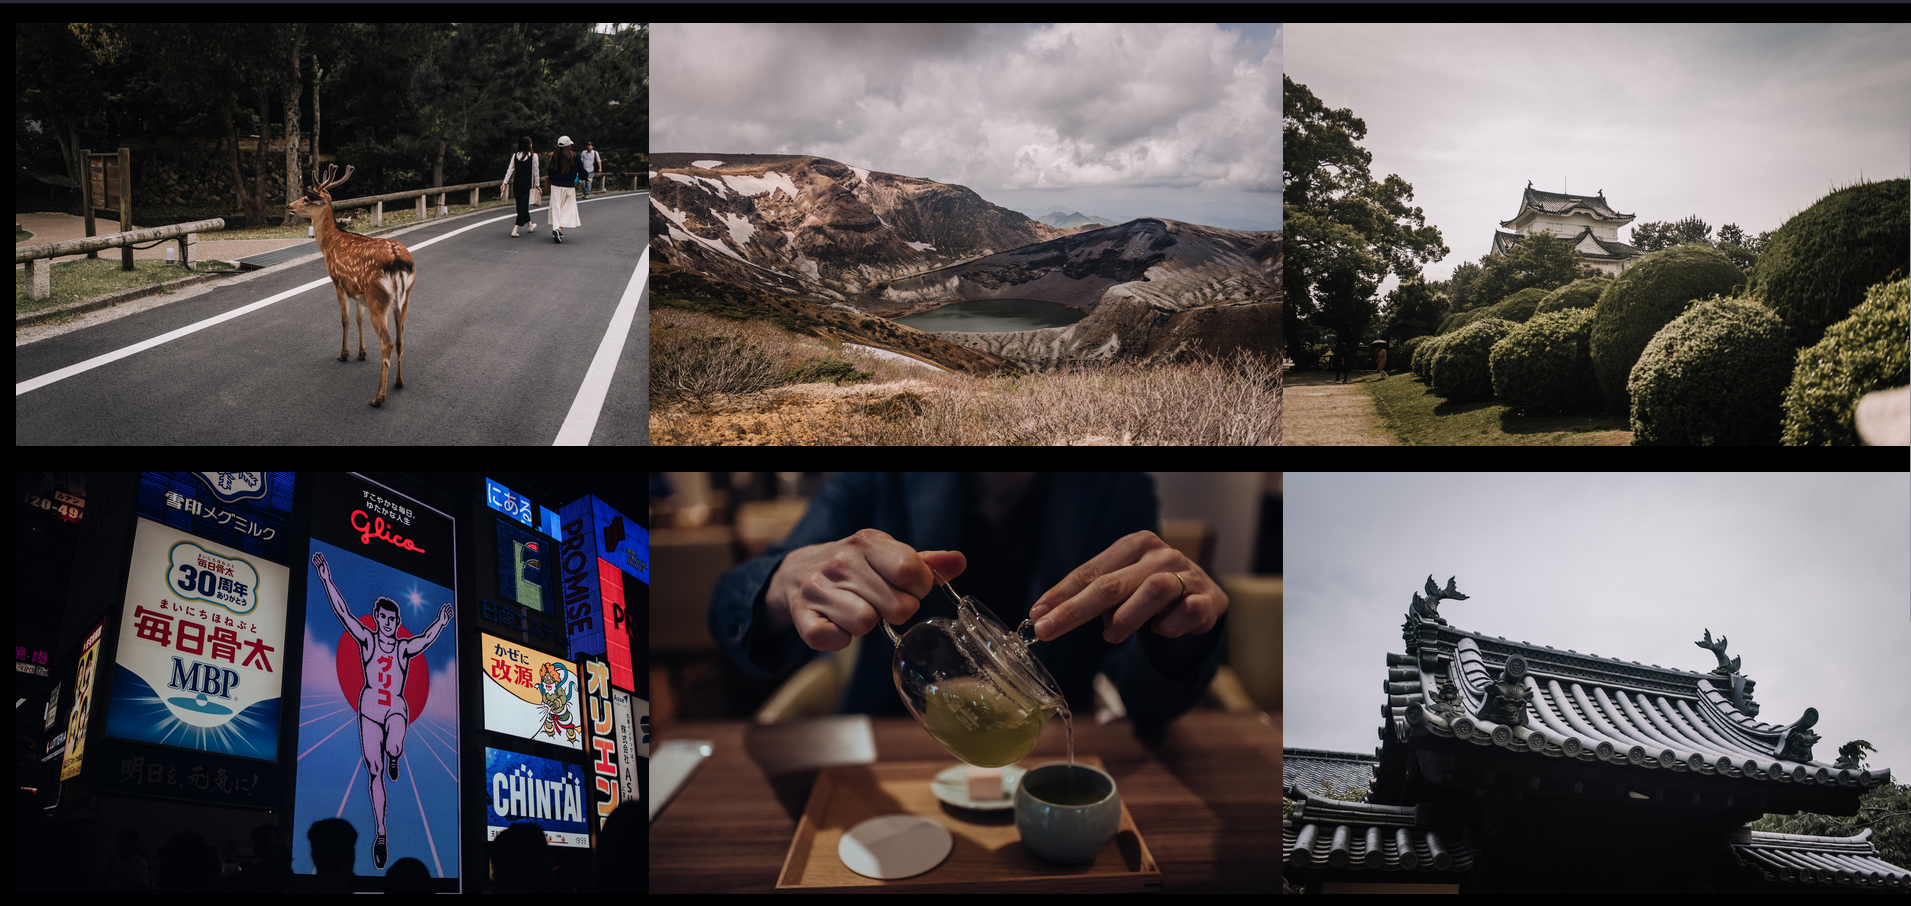
Photo Assistant is a dependency-free library written in vanilla JavaScript (ES6) that provides simple photo editing, photo sorting (alphabetically based on img alt) and photo gallery displaying of HTML img elements. It also stores image urls in local storage for easy access and retrieval and offers drawing of edited images onto a canvas element to enable saving of edited images.
Photo Assistant's USP (unique selling point) is that it offers all of these features within the same library, making it useful for a range of applications handling images such as photography portfolio websites, blogs, social media platforms etc. It is also lightweight and easy to use.
To install Photo Assistant use the following command:
npm install photo-assistantTo use Photo Assistant, import the library orchestrator into your project:
import { PhotoAssistantOrchestrator } from 'photo-assistant'Then, create a new instance of the PhotoAssistantOrchestrator class:
const photoAssistant = new PhotoAssistantOrchestrator()To handle photos you need to first add images to PhotoAssistant with the saveImage method which takes an HTMLImageElement as parameter. This could for example be achieved by adding event listeners that listen to click events on image elements already in the document:
document.addEventListener ('click', (event) => {
  const images = document.querySelectorAll('img')

  for (let i = 0; i < images.length; i++) {
    images[i].addEventListener('click', (event) => {
      photoAssistant.saveImage(images[i])
    })
  }
})
! img alt description is required to add and handle images with PhotoAssistant !
PhotoAssistant allows adding of a single or multiple CSS filters to an image at a time.
To filter images that have been added to PhotoAssistant you add a single or multiple filters with the chosenFiltersToAdd(filterMethod, filterValue) method and then apply the chosen filters to the images:
photoAssistant.chosenFiltersToAdd(filterMethod, filterValue)

photoAssistant.applyChosenFilters()
The filterMethod and filterValue parameters are of type string
const filterBtns = document.getElementsByName('filter')
    const filterValueInput = document.getElementById('filterValue')

let filterMethod = ''

    for (let i = 0; i < filterBtns.length; i ++) {
      if (filterBtns[i].checked) {
        filterMethod = filterBtns[i].value.toString()
      }
    }

const filterValue = filterValueInput.value.toString()

    photoAssistant.chosenFiltersToAdd(filterMethod, filterValue)
    photoAssistant.applyChosenFilters()
CSS filter methods supported by PhotoAssistant:
filter: blur(2px)
filter: brightness(120%)
filter: contrast(200%)
filter: grayscale(80%)
filter: sepia(100%)
filter: saturate(90%)
filter: opacity(40%)
As demonstrated above the blur() filter effect accepts a filter value in px and the rest of the filters accept filter values in %
PhotoAssistant handles assigning px or % to the value depending on the chosen filter effect, so you don't have to.
For more information about CSS filters view the documentation:
Draw an image that has been filtered to a canvas element using PhotoAssistant by invoking the drawPhotosToCanvas(appendCanvasTo, canvasId) method.
An HTML element to which the canvas element will be appended is sent as the first argument and you give the canvas an id with the second argument.
For more information about the Canvas API view the documentation:
  // After filtering images.

    const canvasContainer = document.getElementById('canvas-container')
    const canvasId = 'photoCanvas'

photoAssistant.drawPhotosToCanvas(canvasContainer, canvasId)To sort photos (alphabetically based on their alt descriptions) you invoke the sortPhotos() method. This will enable displaying of the images in alphabetical order in the gallery format if the sorting is done before gallery displaying, else the images will be displayed in the gallery in their original order (the order in which they were added to PhotoAssistant).
photoAssistant.sortPhotos()To display photos in a grid gallery the displayPhotosInGallery(columns, galleryContainer) method is used.
The columns parameter is of type number and the galleryContainer is an HTML element to which the gallery will be appended.
  const columnBtns = document.getElementsByName('columns')

  // Optional.
  photoAssistant.sortPhotos()

  for (let i = 0; i < columnBtns.length; i ++) {
      if (columnBtns[i].checked) {
        const columns = Number(columnBtns[i].value)

        const galleryContainer = document.getElementById('gallery-container')
        photoAssistant.displayPhotosInGallery(columns, galleryContainer)
      }
}PhotoAssistant automatically stores added images' src to local storage, retrieves them and constructs new img elements from them. It is also possible to invoke methods to store, retrieve and clear local storage independently.
storePhoto(imageToStore) takes an HTML img element as argument and stores its src to local storage.
getStoredPhoto(imageDescription) takes the alt of the image to be retrieved as an argument, of type string, and returns the new img element constructed from the original img src.
    const imageDescription = 'Glico man billboard in Dotonbori in Osaka, Japan'
    photoAssistant.getStoredPhoto(imageDescription)
clearPhotosFromStorage() resets local storage.
A test application is included in the library to demonstrate the features of Photo Assistant. To run the test application, clone the repository and run the following commands:
npm install
npm run dev
Unit tests (Jest) are included in the library to test the features of Photo Assistant. To run the unit tests, clone the repository and run the following commands:
npm install
npm run testIf you find a bug in the library, please open an issue on the GitHub repository to report it.
If you would like to contribute to the library, please open a pull request on the GitHub repository.
This library was created by Sabrina Prichard-Lybeck.
All images in the test application are owned by the author of this library (© Prichard Photography) and are not to be used without permission.
This library is licensed under the MIT license.


