
![]()
React Native Game Engine · 

Some components that make it easier to construct dynamic and interactive scenes using React Native.
If you are looking for the React (Web) version of this library, go to react-game-engine.
Table of Contents
- Examples
- Quick Start
- GameEngine Properties
- GameEngine Methods
- FAQ
- Introduction
- The Game Loop
- The Game Loop vs React Native
- Using the GameLoop Component
- Managing Complexity with Component Entity Systems
- Using the GameEngine Component
- Awesome Packages for Game Development
- Get in Touch
- License
Examples
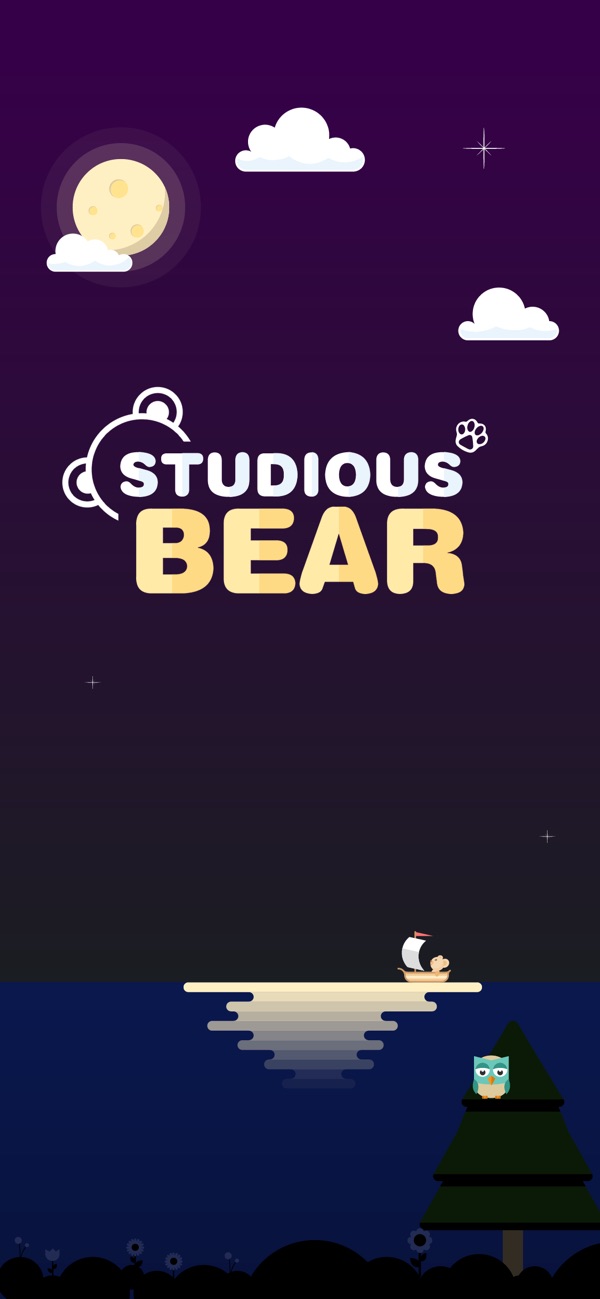
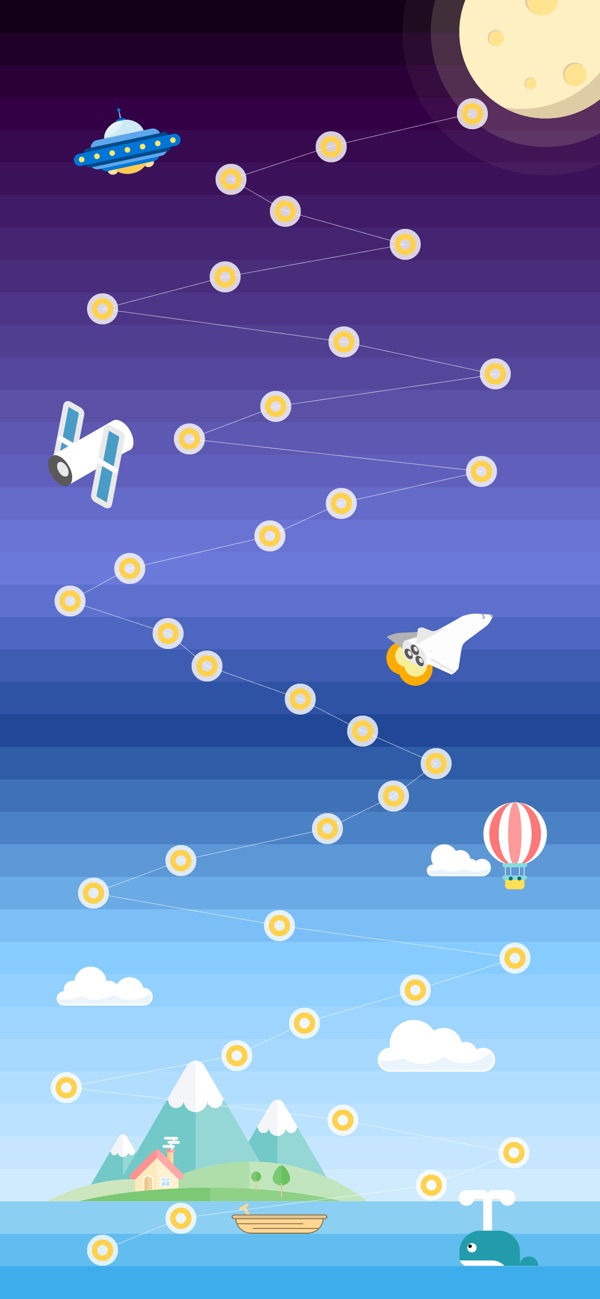
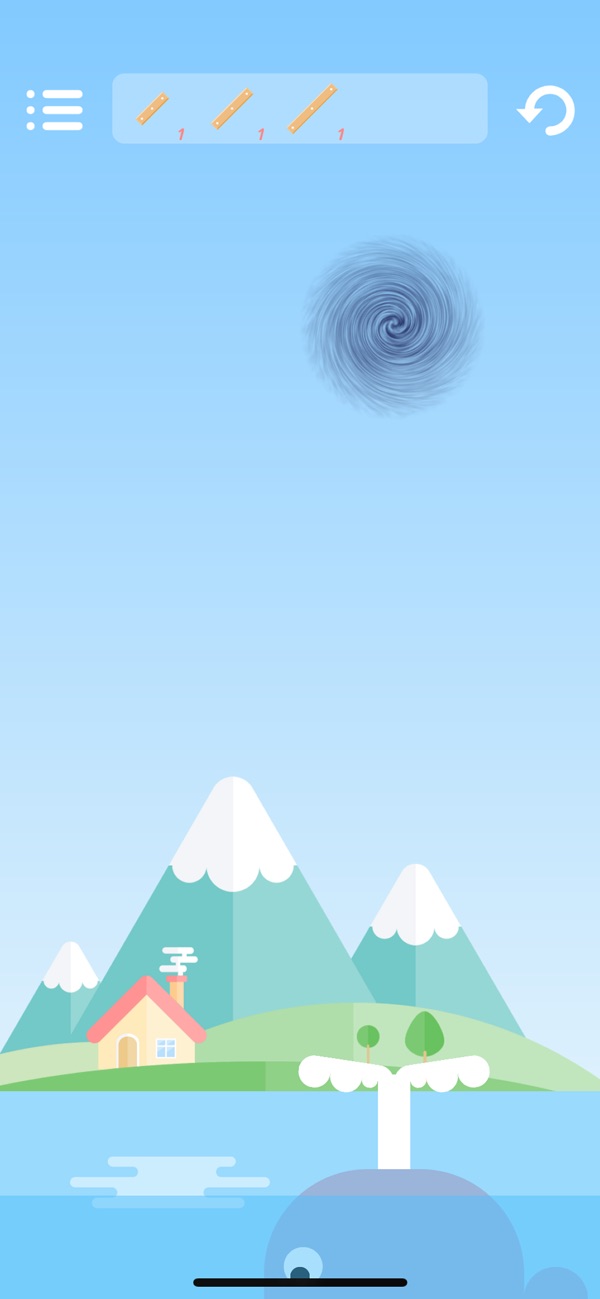
Take a look at Studious Bear, a super-polished puzzle game with great visuals and music. One of the first published games to use RNGE.

See the React Native Game Engine Handbook for a complimentary app, examples and ideas.
Quick Start
If you've used react-native-game-engine before and understand the core concepts, take a look at react-native-game-engine-template. It's a sort of game kickstarter project that allows you to prototype ideas quickly and comes preloaded with a bunch of stuff like:
- A 3D renderer
- Physics
- Particle system
- Crude sound API
- Sprite support with animations
- Etc
Otherwise, continue reading the quick start guide below.
Firstly, install the package to your project:
npm install --save react-native-game-engine
Then import the GameEngine component:
Let's code a scene that incorporates some multi-touch logic. To start with, let's create some components that can be rendered by React. Create a file called renderers.js:
;; const RADIUS = 20; { const x = thispropsposition0 - RADIUS / 2; const y = thispropsposition1 - RADIUS / 2; return <View style=stylesfinger left: x top: y /> ; } const styles = StyleSheet; ;Next, let's code our logic in a file called systems.js:
const MoveFinger = { //-- I'm choosing to update the game state (entities) directly for the sake of brevity and simplicity. //-- There's nothing stopping you from treating the game state as immutable and returning a copy.. //-- Example: return { ...entities, t.id: { UPDATED COMPONENTS }}; //-- That said, it's probably worth considering performance implications in either case. touches; return entities;}; ;Finally let's bring it all together in our index.ios.js (or index.android.js):
;;;; { super; } { return <GameEngine style=stylescontainer systems=MoveFinger entities= 1: position: 40 200 renderer: <Finger /> //-- Notice that each entity has a unique id (required) 2: position: 100 200 renderer: <Finger /> //-- and a renderer property (optional). If no renderer 3: position: 160 200 renderer: <Finger /> //-- is supplied with the entity - it won't get displayed. 4: position: 220 200 renderer: <Finger /> 5: position: 280 200 renderer: <Finger /> > <StatusBar hidden=true /> </GameEngine> ; } const styles = StyleSheet; AppRegistry;Build and run. Each entity is a "finger" and is assigned to a particular touch id. The touch ids increase as you place more fingers on the screen. Move your fingers around the screen to move the entities. As an exercise, try add a system that will insert another finger entity into the game state when a "start" touch event is encountered. What about adding a system that removes the closest entity from the game state when a "long-press" is encountered?
If you're curious, our GameEngine component is a loose implementation of the Compenent-Entity-System pattern - we've written up a quick intro here.
GameEngine Properties
| Prop | Description | Default |
|---|---|---|
systems |
An array of functions to be called on every tick. | [] |
entities |
An object containing your game's initial entities. This can also be a Promise that resolves to an object containing your entities. This is useful when you need to asynchronously load a texture or other assets during the creation of your entities or level. | {} or Promise |
renderer |
A function that receives the entities and needs to render them on every tick. (entities, screen, layout) => { /* DRAW ENTITIES */ } |
DefaultRenderer |
touchProcessor |
A function that can be used to override the default touch processing behavior | DefaultTouchProcessor |
timer |
An object that can be used to override the default timer behavior | new DefaultTimer() |
running |
A boolean that can be used to control whether the game loop is running or not | true |
onEvent |
A callback for being notified when events are dispatched | undefined |
style |
An object containing styles for the root container | undefined |
children |
React components that will be rendered after the entities | undefined |
GameEngine Methods
| Method | Description | Arg1, Arg2, ArgN |
|---|---|---|
stop |
Stop the game loop | NA |
start |
Start the game loop. | NA |
swap |
A method that can be called to update your game with new entities. Can be useful for level switching etc. You can also pass a Promise that resolves to an entities object into this method. | {} or Promise |
dispatch |
A method that can be called to dispatch events. The event will be received by the systems and any onEvent callbacks |
event |
FAQ
Is React Native Game Engine suitable for production quality games?
This depends on your definition of production quality. You're not going to make a AAA title with RNGE. You could however create some more basic games (doesn't mean they can't be fun games), or even jazz up your existing business applications with some interactive eye candy.
Do you know of any apps that currently utilize this library?
Studious Bear and React Native Donkey Kong both use this library. The React Native Game Engine Handbook is a complimentary app that showcases some examples and ideas. If you're aware of any others or wouldn't mind a shameless plug here - please reach out.
How do I manage physics?
RNGE does not come with an out-of-the-box physics engine. We felt that this would be an area where the game designers should be given greater liberty. There are lots of JS-based physics engines out there, each with their pros and cons. Check out Matter JS if you're stuck.
Do I have a choice of renderers?
How you render your entities is up to you. You can use the stand React Native components (View, Image) or try react-native-svg or go full exotic with gl-react-native.
RNGE doesn't give me sensor data out of the box - what gives?
I felt that this would be a nice-to-have and for most use cases it would not be required. Hence, I didn't want to burden RNGE users with any native linking or additional configuration. I was also weary about any unnecessary performance and battery costs. Again, it is easy to integrate into the GameEngine and then RNGE Handbook will have an example using react-native-sensors.
Is this compatible with Android and iOS?
Yes.
Won't this kind of be harsh on the battery?
Well kinda.. But so will any game really! It's a bit of a trade-off, hopefully it's worthwhile!
Introduction
This package contains only two components:
GameLoopGameEngine
Both are standalone components. The GameLoop is a subset of the GameEngine and gives you access to an onUpdate callback that fires every 16ms (or roughly 60 fps). On top of this, the GameLoop will supply a reference to the screen (via Dimensions.get("window")), touch events for multiple fingers (start, end, press, long-press, move) and time + deltas. The GameLoop is useful for simple interactive scenes, and pretty much stays out of your way.
The GameEngine is more opinionated and is a react-friendly implementation of the Component-Entity-Systems pattern. It provides the same features out of the box as the GameEngine but also includes a crude event/signaling pipeline for communication between your game and your other React Native components. You probably want to use the GameEngine to implement slightly more complex games and interactive scenes.
The Game Loop
The game loop is a common pattern in game development and other interactive programs. It loosely consists of two main functions that get called over and over again: update and draw.
The update function is responsible for calculating the next state of your game. It updates all of your game objects, taking into consideration physics, ai, movement, input, health/fire/damage etc. We can consider this the logic of your game.
Once the update function has done its thing - the draw function is responsible for taking the current state of the game and rendering it to the screen. Typically, this would include drawing characters, scenery and backgrounds, static or dynamic objects, bad guys, special effects and HUD etc.
Ideally, both functions complete within 16ms, and we start the next iteration of the loop until some loop-breaking condition is encountered: pause, quit, game over etc. This might seem like a lot of processing overhead, but unlike regular applications, games are highly interactive and ever changing. The game loop affords us full control over scenes - even when no user input or external events have fired.
The Game Loop vs React Native
A typical React Native app will only redraw itself when this.setState() is called on a component with some new state (for lack of better words). Often times, this is a direct response to user input (button presses, keystrokes, swipes) or other event (WebSocket callbacks, push notifications, etc).
This works perfectly fine (and is even ideal) for a business-oriented app - but it doesn't give the developer fine grained control to create highly interactive and dynamic scenes.
Unlike most other software, games keep moving even when the user isn’t providing input. If you sit staring at the screen, the game doesn’t freeze. Animations keep animating. Visual effects dance and sparkle. If you’re unlucky, that monster keeps chomping on your hero.
This is the first key part of a real game loop: it processes user input, but doesn’t wait for it. The loop always keeps spinning - Robert Nystrom
That said, React Native and game loops are not mutually exclusive, and we can use React Native Game Engine to bridge the two paradigms.
Using the GameLoop Component
The GameLoop component is suitable for simple scenes and interactions only. For more complex scenes and games, please take a look at the GameEngine component and have a quick read through Managing Complexity with Component Entity Systems
Firstly, install the package to your project:
npm install --save react-native-game-engine
Then import the GameLoop component:
Let's code a basic scene with a single moveable game object. Add this into your index.ios.js (or index.android.js):
;;; const width: WIDTH height: HEIGHT = Dimensions;const RADIUS = 25; { super; thisstate = x: WIDTH / 2 - RADIUS y: HEIGHT / 2 - RADIUS ; } { let move = touches; if move this; }; { return <GameLoop style=stylescontainer onUpdate=thisupdateHandler> <View style=stylesplayer left: thisstatex top: thisstatey /> </GameLoop> ; } const styles = StyleSheet; AppRegistry;Behind the Scenes
- The
GameLoopstarts a timer usingrequestAnimationFrame(fn). Effectively, this is our game loop. - Each iteration through the loop, the
GameLoopwill call the function passed in viaprops.onUpdate. - Our
updateHandlerlooks for anymovetouches that were made between now and the last time through the loop. - If found, we update the position of our lone game object using
this.setState().
Where is the Draw Function
Nice observation! Indeed, there is none. The logic of our scene is processed in the updateHandler function, and our drawing is handled by our component's out-of-the-box render() function.
All we've done here is hookup a timer to a function that fires every ~16ms, and used this.setState() to force React Native to diff the changes in our scene and send them across the bridge to the host device. React Native Game Engine only takes care of the game timing and input processing for us.
Managing Complexity with Component Entity Systems
Typically, game developers have used OOP to implement complex game objects and scenes. Each game object is instantiated from a class, and polymorphism allows code re-use and behaviors to be extended through inheritance. As class hierarchies grow, it becomes increasingly difficult to create new types of game entities without duplicating code or seriously re-thinking the entire class hierarchy.
               [GameEntity]
                    |
                    |
                [Vehicle]
               /    |    \
              /     |     \
             /      |      \
            /       |       \
   [Terrestrial] [Marine] [Airborne]
           |        |        |
           |        |        |
         [Tank]   [Boat]   [Jet]
How do we insert a new terrestrial and marine-based vehicle - say a Hovercraft - into the class hierarchy?
One way to address these problems is to favor composition over inheritance. With this approach, we break out the attributes and behaviours of our various game entities into decoupled, encapsulated and atomic components. This allows us to be really imaginative with the sorts of game entities we create because we can easily compose them with components from disparate domains and concerns.
Component entity systems are one way to organize your game entities in a composable manner. To start with, we take the common attributes (data) of our game entities and move them into siloed components. These don't have to be concrete classes, simple hash maps (or equivalent) and scalars will do - but this depends on the data you're storing.
- Position: { x: 0, y: 0 }
- Velocity: { x: 0, y: 0 }
- Acceleration: { x: 0, y: 0 }
- Mass: 1.0
- Health: 100
- Physics: Body b
- Controls: { jump: 'w', left: 'a', crouch: 's', right: 'd' }
Examples of different types of components in a hypothetical programming language.
Your game entities will be reduced to lists/arrays of components and labeled with a unique identifier. An entity's components are by no means static - you're free to update components and even add or remove them on the fly. If our favourite Italian plumber ingests a mushroom, we simple double his velocity. If our character turns into a ghost - we remove his physics component and let him walk through walls.
- Player#1: [Position, Velocity, Health, Sprite, Physics, Controls]
- Enemy#1: [Position, Velocity, Health, Sprite, Physics, AI]
- Platform#1: [Position, Sprite, Physics]
- Platform#2: [Position, Sprite, Physics, Velocity] // <-- Moving platform!
All entities are assigned a unique id.
Since our entities are simple data holders now, we must move all our game logic into our systems. At its core, a system is a function that processes related groups of components and is called on each iteration of the game loop. The system will extract entities that contain the necessary components it requires to run, update those entities as necessary, and wait for the next cycle. For example, we could code a "Gravity" component that calculates the force of gravity and applies it to all entities that have an acceleration AND velocity AND mass component. Entities that do not contain these components will not be affected by gravity.
- Gravity: (Acceleration, Velocity, Mass) => { // Update all matching entities // }
- Render: (Sprite, Position) => { }
- Movement: (Position, Velocity, Controls) => { }
- Damage: (Health) => { }
- Bot: (Position, Velocity, AI) => { }
The logic in a system is inherently reusable because it can be applied to all entities that meet the system's criteria.
How exactly you choose to define your components, entities and systems is up to you. You'll probably find that coming up with well-defined components and systems will take some practice - but the general pattern is conducive to refactoring and the long term benefits will outweigh the learning curve.
Additional CES Reading Material
Using the GameEngine Component
The GameEngine component is a loose implementation of a Component-Entity-Systems architecture. It is a plain React component that allows us to pass in a map of entities (and their components) and an array of systems that will process the entities on each frame. In addition, the GameEngine will provide touch feedback, screen size, layout and some other niceties to help us code our logic.
To begin with, install the package to your project:
npm install --save react-native-game-engine
Then import the GameEngine component:
Let's code a scene that incorporates some multi-touch logic. To start with, let's create some components that can be rendered by React. Create a file called renderers.js:
;; const RADIUS = 20; { const x = thispropsposition0 - RADIUS / 2; const y = thispropsposition1 - RADIUS / 2; return <View style=stylesfinger left: x top: y /> ; } const styles = StyleSheet; ;Next, let's code our logic in a file called systems.js:
const MoveFinger = { //-- I'm choosing to update the game state (entities) directly for the sake of brevity and simplicity. //-- There's nothing stopping you from treating the game state as immutable and returning a copy.. //-- Example: return { ...entities, t.id: { UPDATED COMPONENTS }}; //-- That said, it's probably worth considering performance implications in either case. touches; return entities;}; ;Finally let's bring it all together in our index.ios.js (or index.android.js):
;;;; { super; } { return <GameEngine style=stylescontainer systems=MoveFinger //-- We can add as many systems as needed entities= 1: position: 40 200 renderer: <Finger /> //-- Notice that each entity has a unique id (required) 2: position: 100 200 renderer: <Finger /> //-- and a map of components. Each entity has an optional 3: position: 160 200 renderer: <Finger /> //-- renderer component. If no renderer is supplied with the 4: position: 220 200 renderer: <Finger /> //-- entity - it won't get displayed. 5: position: 280 200 renderer: <Finger /> > <StatusBar hidden=true /> </GameEngine> ; } const styles = StyleSheet; AppRegistry;Build and run. Each entity is a "finger" and is assigned to a particular touch id. The touch ids increase as you place more fingers on the screen. Move your fingers around the screen to move the entities. As an exercise, try add a system that will insert another finger entity into the game state when a "start" touch event is encountered. What about adding a system that removes the closest entity from the game state when a "long-press" is encountered?
Awesome Packages for Game Development
The following is a list of invaluable packages when it comes to coding interactive scenes. Please feel free to nominate others:
- React Native Animatable
- React Motion
- Matter JS (beware has some DOM code)
- React Game Kit
- React Native SVG
- React Native Linear Gradient
- React Native Sensors
- React Native WebGL
- GL React
Get in Touch
We are Neap - a development and design team in Sydney. We love building stuff and meeting new people, so get in touch with us at https://neap.co.
Some of our projects:
React & React Native
- react-native-game-engine: A lightweight game engine for react native.
- react-native-game-engine-handbook: A React Native app showcasing some examples using react-native-game-engine.
Web Framework & Deployment Tools
- webfunc: Write code for serverless similar to Express once, deploy everywhere.
- now-flow: Automate your Zeit Now Deployments.
GraphQL
- graphql-serverless: GraphQL (incl. a GraphiQL interface) middleware for webfunc.
- schemaglue: Naturally breaks down your monolithic graphql schema into bits and pieces and then glue them back together.
- graphql-s2s: Add GraphQL Schema support for type inheritance, generic typing, metadata decoration. Transpile the enriched GraphQL string schema into the standard string schema understood by graphql.js and the Apollo server client.
Tools
- aws-cloudwatch-logger: Promise based logger for AWS CloudWatch LogStream.
License
MIT License
Copyright (c) 2018 Boris Berak
Permission is hereby granted, free of charge, to any person obtaining a copy of this software and associated documentation files (the "Software"), to deal in the Software without restriction, including without limitation the rights to use, copy, modify, merge, publish, distribute, sublicense, and/or sell copies of the Software, and to permit persons to whom the Software is furnished to do so, subject to the following conditions:
The above copyright notice and this permission notice shall be included in all copies or substantial portions of the Software.
THE SOFTWARE IS PROVIDED "AS IS", WITHOUT WARRANTY OF ANY KIND, EXPRESS OR IMPLIED, INCLUDING BUT NOT LIMITED TO THE WARRANTIES OF MERCHANTABILITY, FITNESS FOR A PARTICULAR PURPOSE AND NON-INFRINGEMENT. IN NO EVENT SHALL THE AUTHORS OR COPYRIGHT HOLDERS BE LIABLE FOR ANY CLAIM, DAMAGES OR OTHER LIABILITY, WHETHER IN AN ACTION OF CONTRACT, TORT OR OTHERWISE, ARISING FROM, OUT OF OR IN CONNECTION WITH THE SOFTWARE OR THE USE OR OTHER DEALINGS IN THE SOFTWARE.
![]()