
react-pixi
This library works with React 15. If you are using React 16, look at react-pixi-fiber or a different library also called react-pixi.
Create/control a Pixi.js canvas using React.
To control a 3D scene with React, see react-three
Install Via NPM
The current version of react-pixi is 0.9.0 and uses React 15.0.0 and PIXI 4.0.0
If you just want to use react-pixi and not build it, you can install it using npm.
npm install react-pixi --save
At this point you can reference it using the commonjs forms.
var React = ;var ReactPIXI = ;var PIXI = ;It turns out that PIXI dumps itself into the global namespace so you don't have to require it if you don't want to.
To use react-pixi with webpack, babel, and hot reloading, you can use this boilerplate.
Building From Source
You will need node and npm.
git clone https://github.com/Izzimach/react-pixi.git
cd react-pixi
npm install
npm run build
will build and package the code into build/react-pixi.js. You can include
this in your web page and reference React, ReactPIXI as globals.
<script src="../../build/react-pixi.js"></script>
NOTE that react-pixi includes its own internal copy of React (currently 15) so you should not include the standard React library if you're doing it this way. Doing so might give wierd results!
Running The Examples
The examples are in examples/ and you can view them by running a webpack dev server.
npm run examples
Then browse to http://localhost:8080
Rendering Pixi.js elements
To render Pixi.js elements like a Stage or Sprite you reference them like other
components that were created with React.createClass. For React 0.12 and later,
this means you have to use React.createElement or create factories from the
basic ReactPIXI components. From React 15.5, instead of using React.createClass you should use createReactClass from a separate create-react-class package. For example, to construct
a CupcakeComponent that consists of two Sprites:
// set assetspath to point to your image filesvar { return '../assets/' + filename; }; var Sprite = React;var DisplayObjectContainer = React; var CupcakeComponent = React;(taken from the cupcake example)
Note that at the moment you need to mount onto a DOM component so your top-level component will probably be a ReactPIXI.Stage.
Look in the examples directory for more in-depth examples.
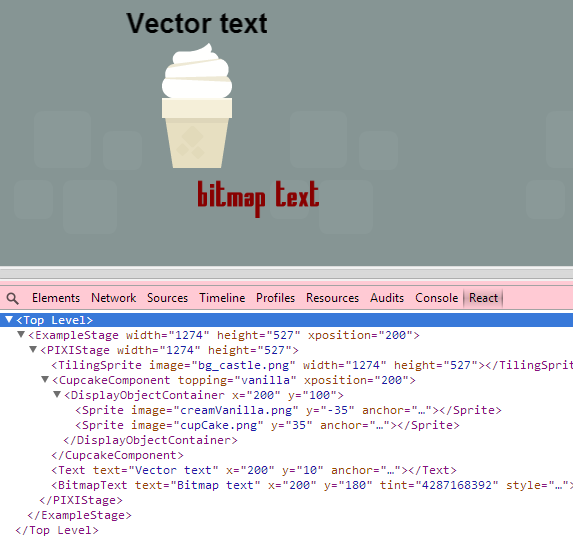
Rendering via JSX
You can produce display elements using JSX as well. Note that you don't need factories in this case.
var { return '../assets/' + filename; }; var Stage = ReactPIXIStage;var TilingSprite = ReactPIXITilingSprite;var Text = ReactPIXIText; var ExampleStage = React;Setting values for Point and ObservablePoint types
For setting properties on Pixi.js types that are either PIXI.Point's or
PIXI.ObserveablePoint's you can use either and array of integers or a
comma-separated string of integers in the following forms: [x,y], 'x,y',
[i], 'i'. In the case where two integers are provided, the first will be
applied to the X coordinate and the second will be applied to the Y
coordinate. In the case where a single integer if provided, it will be applied
to both coordinates.
You can still create your own PIXI Point or ObserveablePoint objects and
assign them directly to the property. These won't actually replace the property
but they will be applied using the original object's .copy() method.
Testing
Testing is done with karma
npm run test
to (re)generate the pixel reference images you will need to have slimerjs installed, then
npm run pixelrefs
Caveats
- Callbacks are just callbacks. They don't feed into React's event system.