在vue-cli中使用
1.安装依赖
可以通过 npm 添加依赖
npm i @antv/g2@3.5.15 @antv/data-set@0.9.6 vue-g2 --save或者通过 yarn 添加依赖
yarn add @antv/g2@3.5.15 @antv/data-set@0.9.6 vue-g22.引入依赖
在 main.js 中写入以下内容:
VueconfigproductionTip = false 以上代码便完成了 vue-g2 的引入。
3.Vue组件中使用
在需要使用可视化图表的vue组件中通过 html 标签的形式使用, 如:
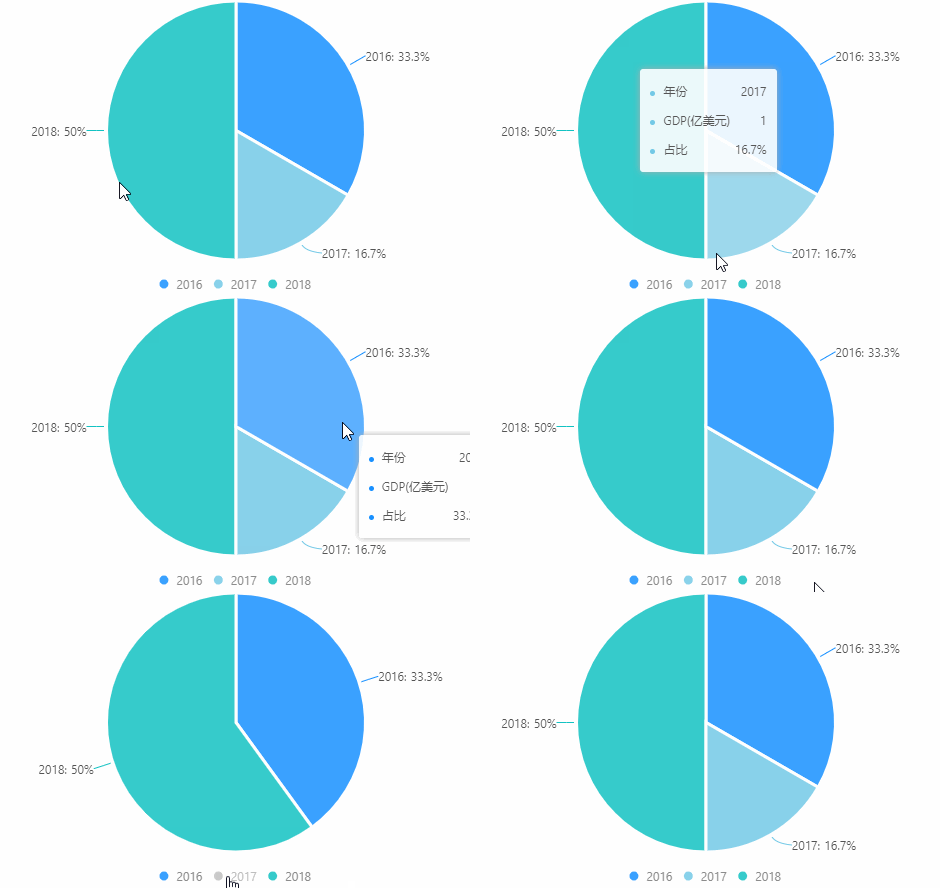
<template> <g2-pie type="pie" :axis-name="{ name: '年份', value: 'GDP(亿美元)' }" :data="data" :label-option="{ show: true, offset: 20 }"> </g2-pie></template> <script>export default { data () { return { data: [ { name: '2016', value: 2 }, { name: '2017', value: 1 }, { name: '2018', value: 3 } ] } }}</script> <style></style>
在nuxt.js(ssr)中使用
1.安装依赖
可以通过 npm 添加依赖
npm i @antv/g2@3.5.15 @antv/data-set@0.9.6 vue-g2 --save或者通过 yarn 添加依赖
yarn add @antv/g2@3.5.15 @antv/data-set@0.9.6 vue-g22.新建插件
在 plugins 文件夹中新建 vue-g2.client.js 文件,并写入以下内容:
3.引入插件
将插件引入nuxt.config.js
plugins: src: '~/plugins/vue-g2.client' 4.Vue组件中使用
在需要使用可视化图表的vue组件中通过 html 标签的形式使用, 如:
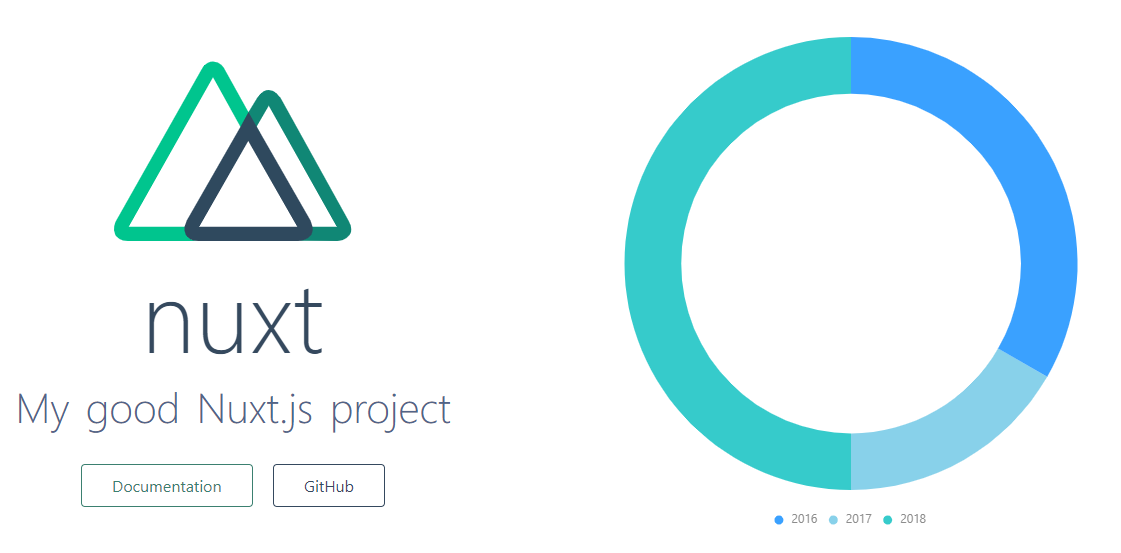
<template> <g2-pie type="pie" :axis-name="{ name: '年份', value: 'GDP(亿美元)' }" :data="data" :label-option="{ show: true, offset: 20 }"> </g2-pie></template> <script>export default { data () { return { data: [ { name: '2016', value: 2 }, { name: '2017', value: 1 }, { name: '2018', value: 3 } ] } }}</script>
在浏览器中直接使用
目前可以通过http://unpkg.com/vue-g2获取最新版本,也可通过http://unpkg.com/vue-g2@x.x.x/lib/vue-g2.umd.js获取指定版本。在页面上引入 js 即可开始使用。(需要引入vue、g2、data-set等前置依赖)
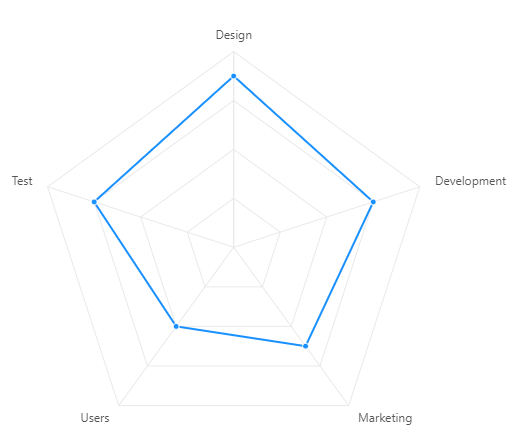
通过CDN使用vue-g2 <!-- 使用雷达图组件 --> <!-- CDN方式引入 vue --> <!-- CDN方式引入 @antv/g2 --> <!-- CDN方式引入 @antv/data-set --> <!-- CDN方式引入 vue-g2 -->


