ImageKit CKEditor 5 Plugin
This plugin integrates ImageKit into CKEditor 5, allowing you to access the embedded Media Library Widget through your CKEditor toolbar.
With this plugin, you can directly insert images from your ImageKit account into the editor, as well as upload new images to your Media Library.
Table of Contents
Installation and build
To install this plugin, you should make a custom build of CKEditor 5. Use the quickstart steps below, or follow the instructions here.
Version support
The following versions of CKEditor core packages are supported so far:
If you are making the custom build by following the instructions on CKEditor website, please ensure that all CKEditor-related packages you install belong to a single one of the supported versions. Otherwise, the build will throw "ckeditor-duplicated-modules" error in the browser and fail to work.
CKEditor quickstart
Clone the CKEditor 5 repository at the latest supported version:
git clone --depth 1 --branch v24.0.0 https://github.com/ckeditor/ckeditor5.git
Navigate to the build that will be customized and install dependencies. We will use the classic build:
cd ckeditor5/packages/ckeditor5-build-classic
npm install
Install the ImageKit CKEditor plugin in your custom build folder:
npm install --save-dev imagekit-ckeditor5-plugin
Configuration
To load the plugin, configure your editor by editing the src/ckeditor.js file that belongs to the chosen build. Import the Media Library Widget within it as follows:
/* ckeditor5-build-classic/src/ckeditor.js */

// ...imported modules
// custom plugin import
import { ImagekitMediaLibraryWidget } from 'imagekit-ckeditor5-plugin';

export default class ClassicEditor extends ClassicEditorBase {}

// Plugins to include in the build.
ClassicEditor.builtinPlugins = [
  // include custom plugin in build
  ImagekitMediaLibraryWidget,
  // ...other components
];

// COnfigure the `imagekitMediaLibraryWidget` plugin to display on the editor toolbar
ClassicEditor.defaultConfig = {
  toolbar: {
    items: [
      'imagekitMediaLibraryWidget',
      // ...other ckeditor plugins
    ]
  },
  // ...other settings
  language: 'en'
};
Build the editor
npm run buildCopy the built files into the source of your webpage which will host the editor:
cp -r build/ <path_to_your_web_project>
Frontend installation
Import the generated build files in your frontend project:
<script src="<path_to_web_project>/ckeditor.js"></script>Provide HTML container elements for widget instance as well as editor instance:
<div class="editor"></div>
<div class="ml-container"></div>
Create a JavaScript object with configuration options for the plugin:
var pluginOptions = {
  container: '.ml-container',
  className: 'media-library-widget',
  dimensions: {
    height: '100%',
    width: '100%',
  },
};
Create an editor instance that includes the imagekitMediaLibraryWidget plugin on the toolbar, with its configuration options.
// ckeditor
var editor;

// initialize ckeditor
ClassicEditor
  .create(document.querySelector('.editor'), {
      imagekitMediaLibraryWidget: {
        config: pluginOptions
      }
    })
  .then(newEditor => {
    editor = newEditor;
    window.editor = newEditor;
  }).catch(error => {
    console.error(error);
  });
Usage
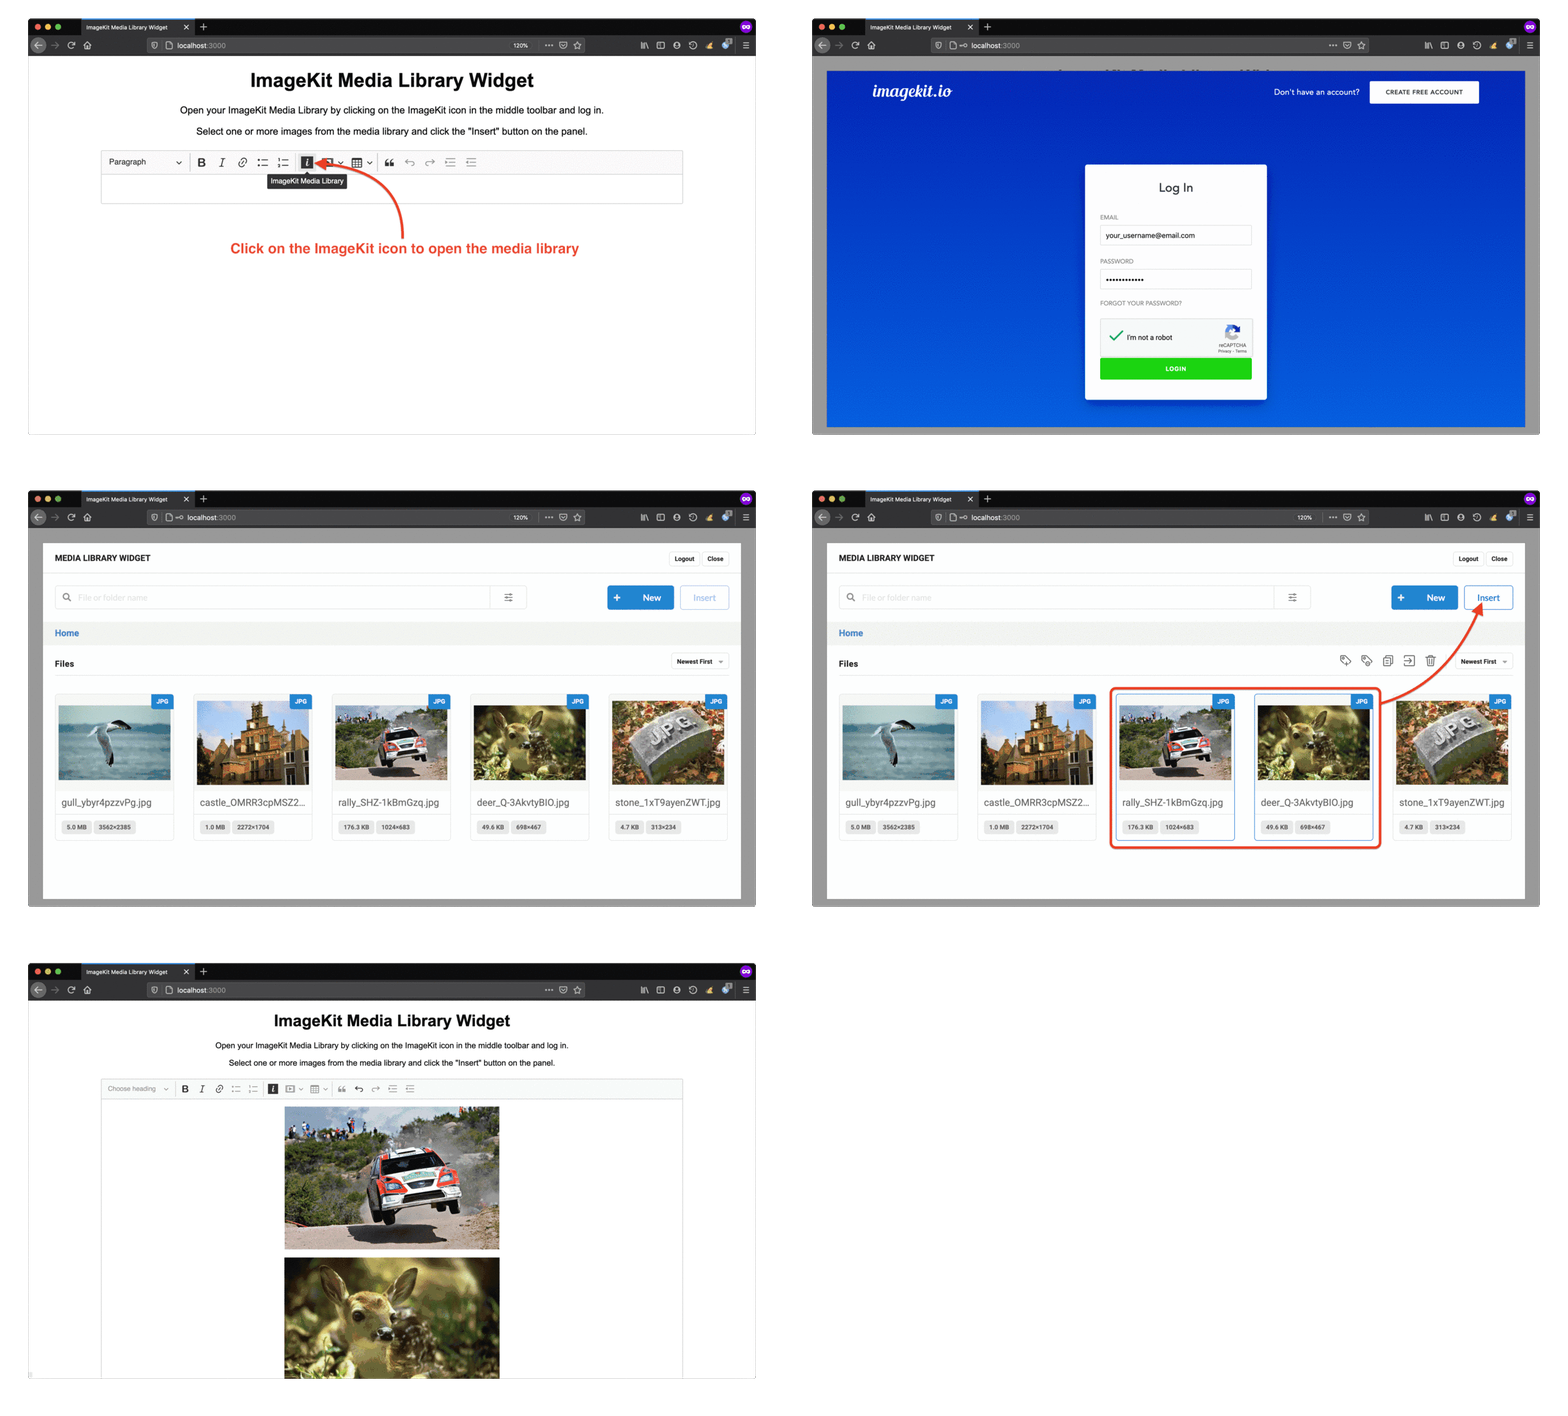
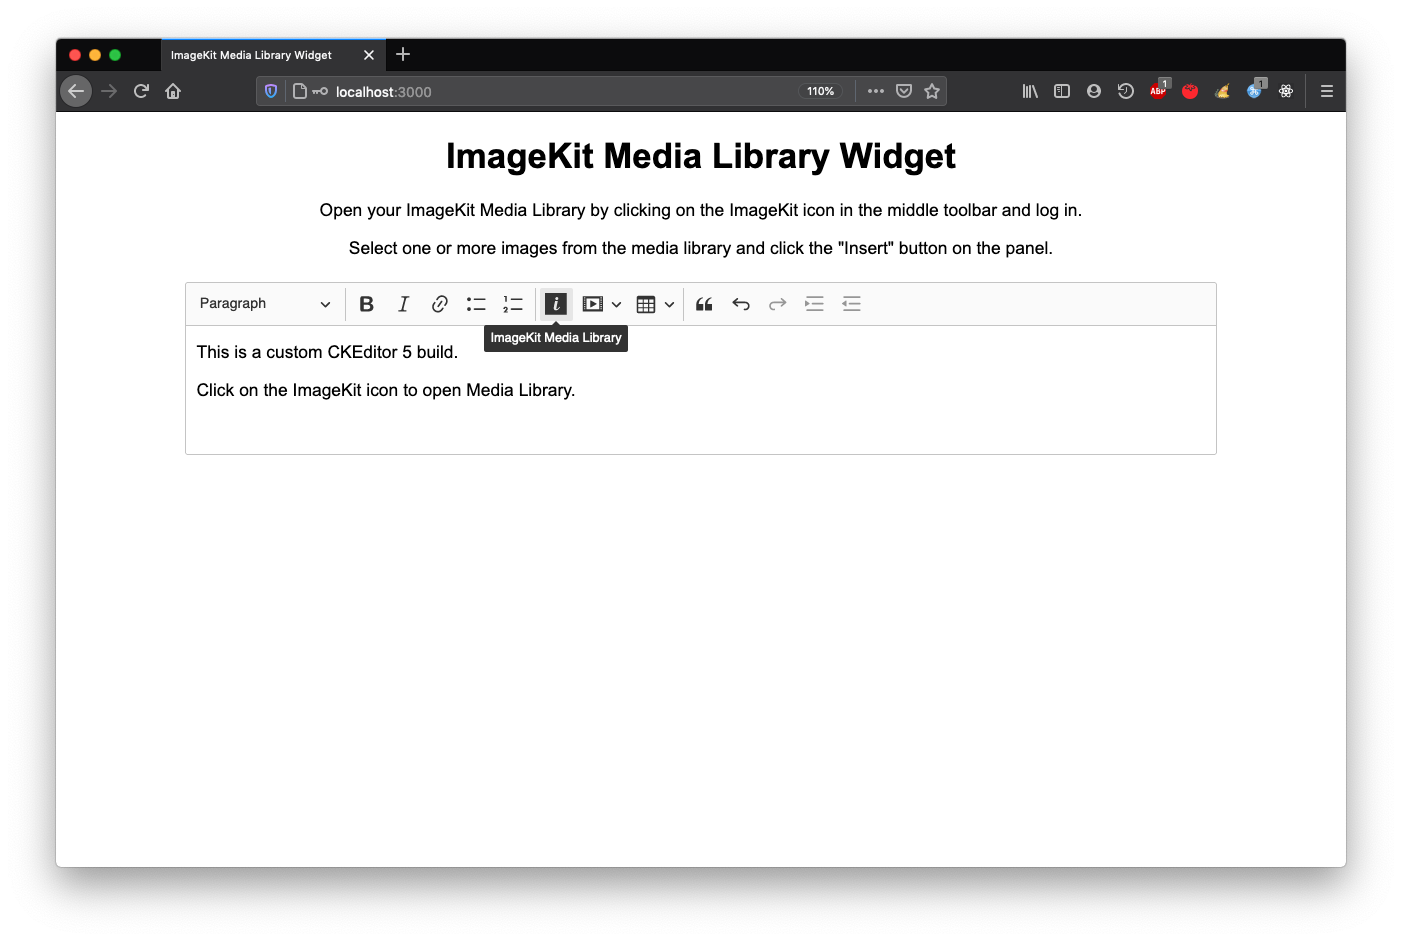
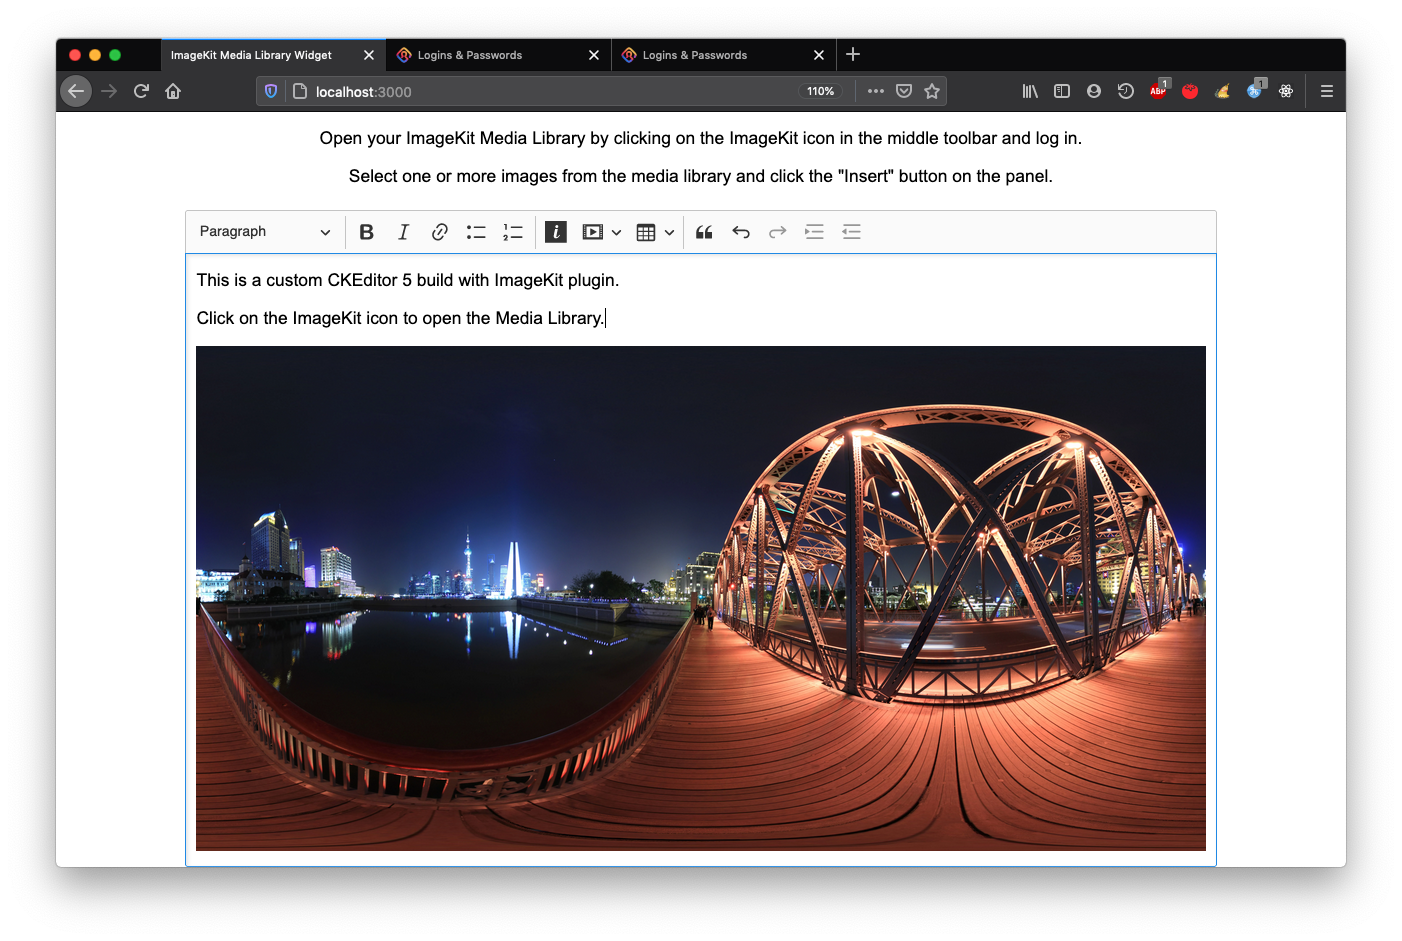
Open a browser and navigate to your app with the CKEditor instance. It should look similar to the image below. To open ImageKit view, click on the highlighted icon:
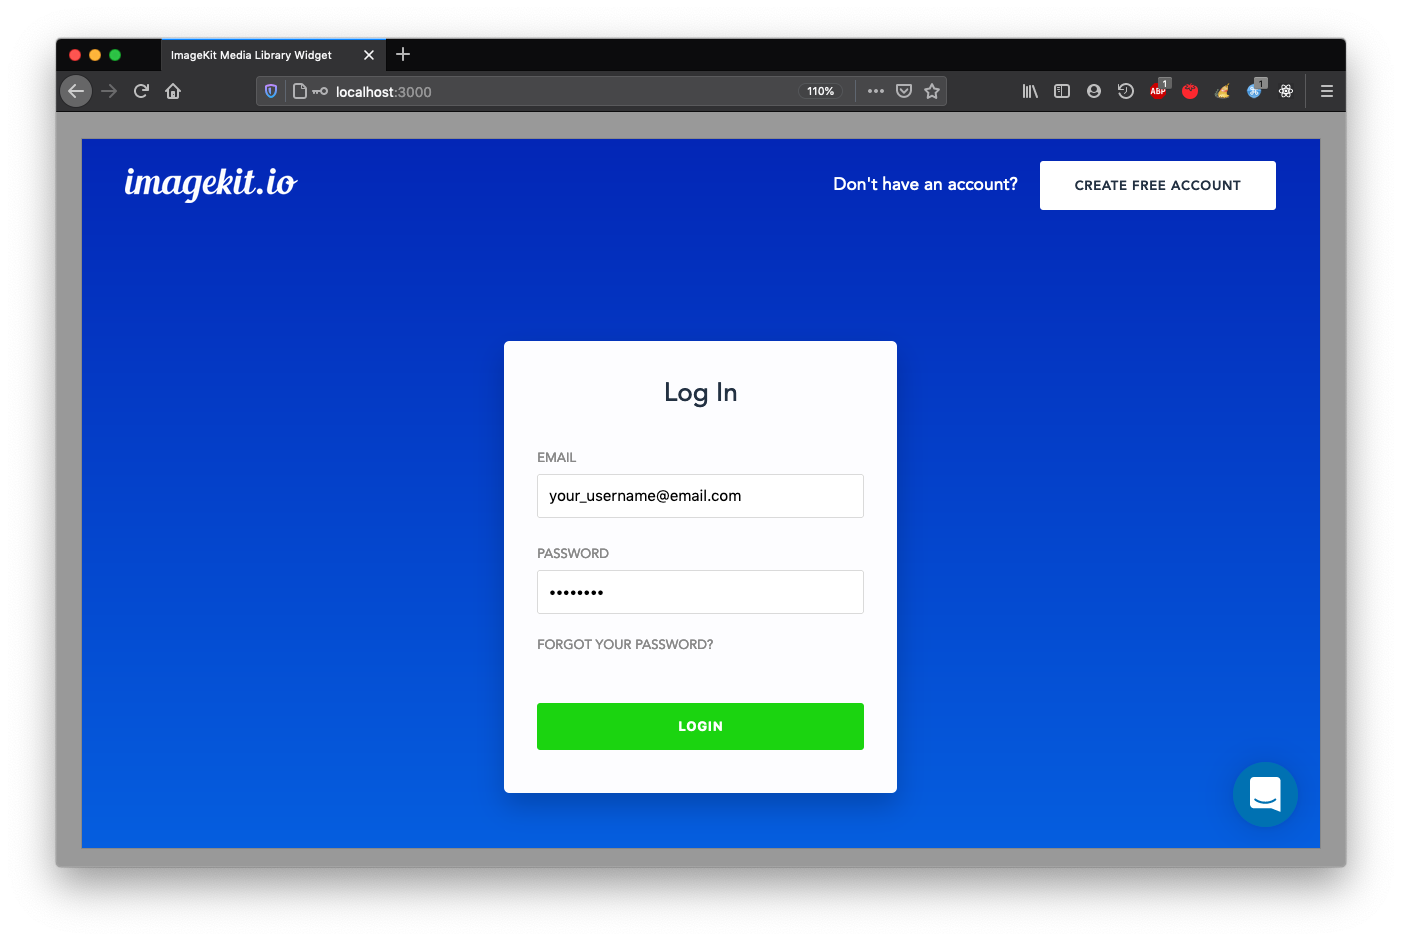
If you are not logged in already, do so using your ImageKit username and password.
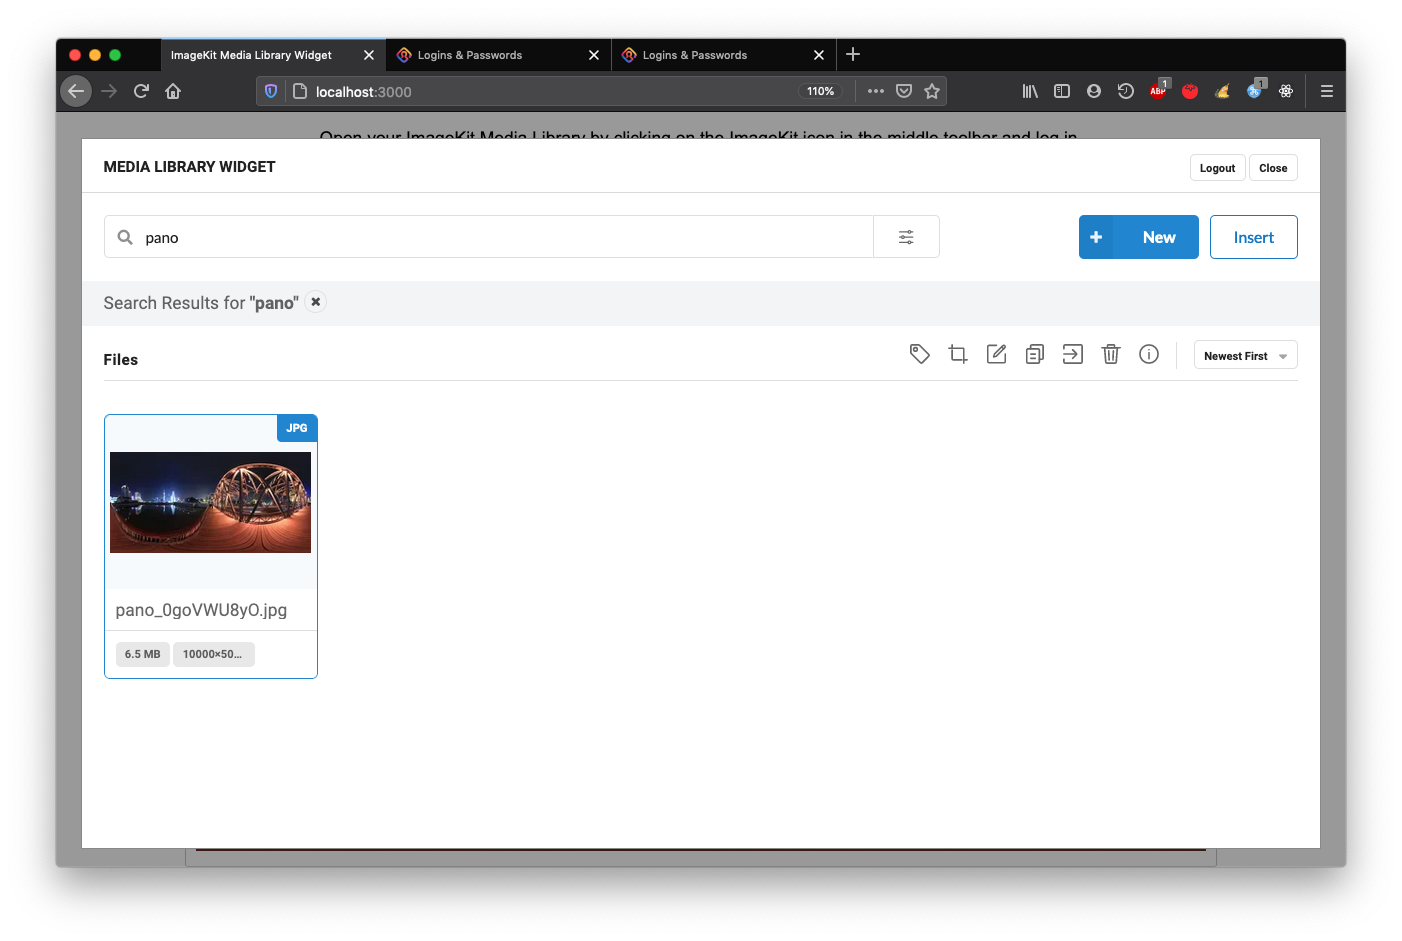
The Media Library view should open right up, letting you search and select existing images, as well as upload new ones directly.
To insert one or more images into the CKEditor panel, select them and click the "Insert" button in the top right hand area.
The modal dialog will close and selected images will be inserted into the editor automatically!
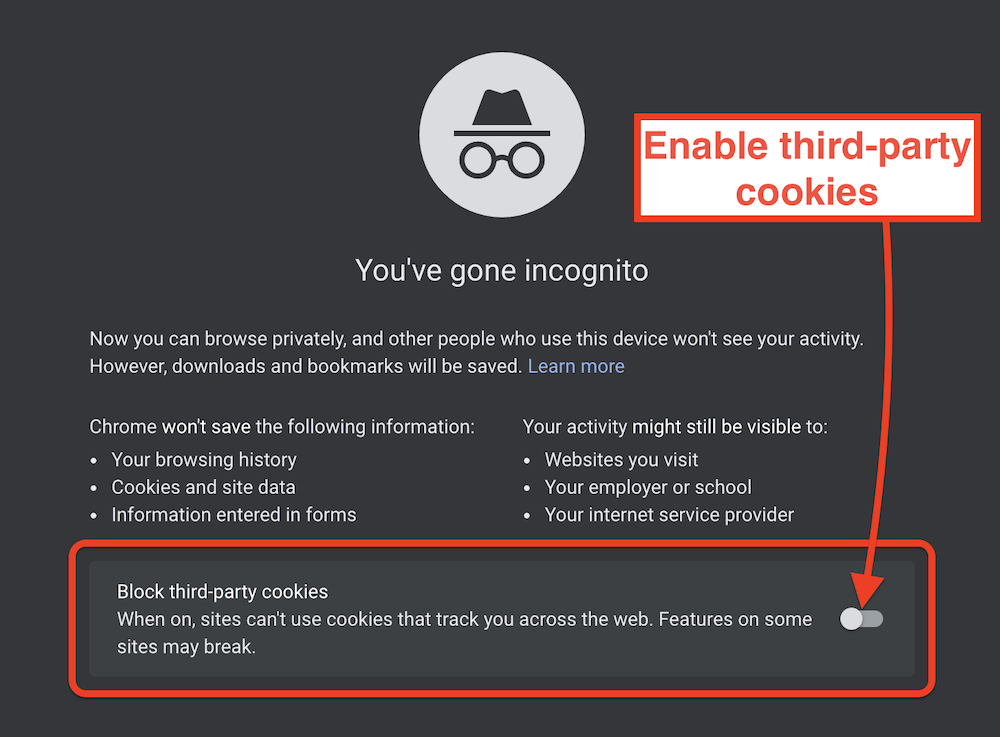
Note: Google Chrome (Incognito)
In order to use this plugin on Google Chrome in Incognito mode, you need to enable third-party cookies:


